In over our heads
We've got A ROOF, FRIENDS!
We are all framed out on the attic renovation including trusses (to be explained below) and a roof. Take a look!

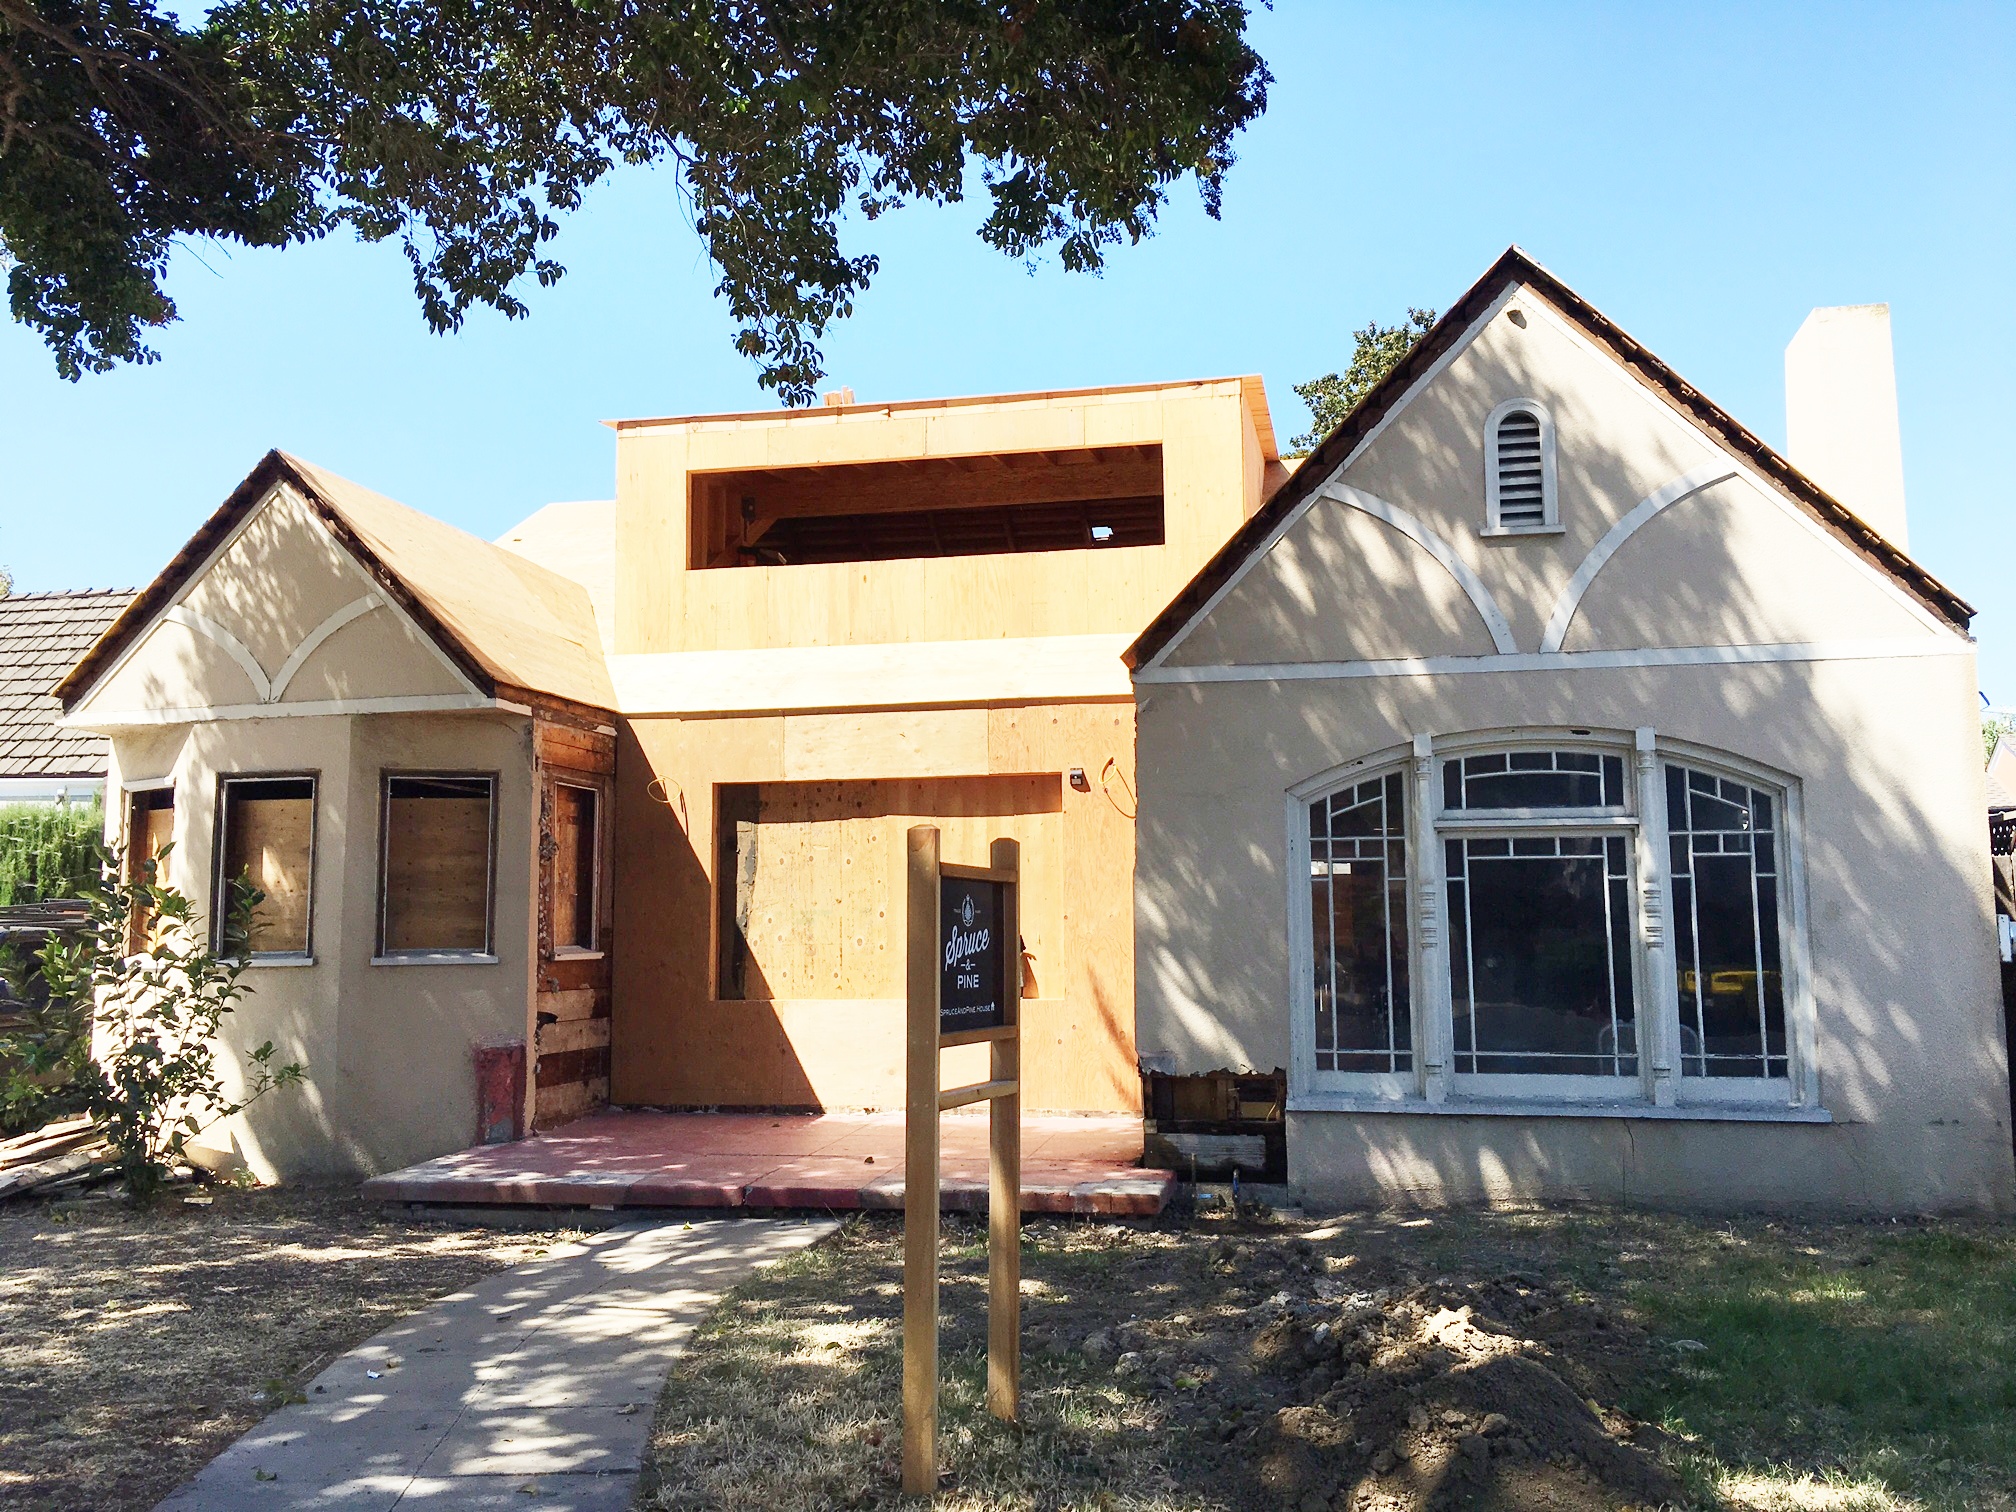
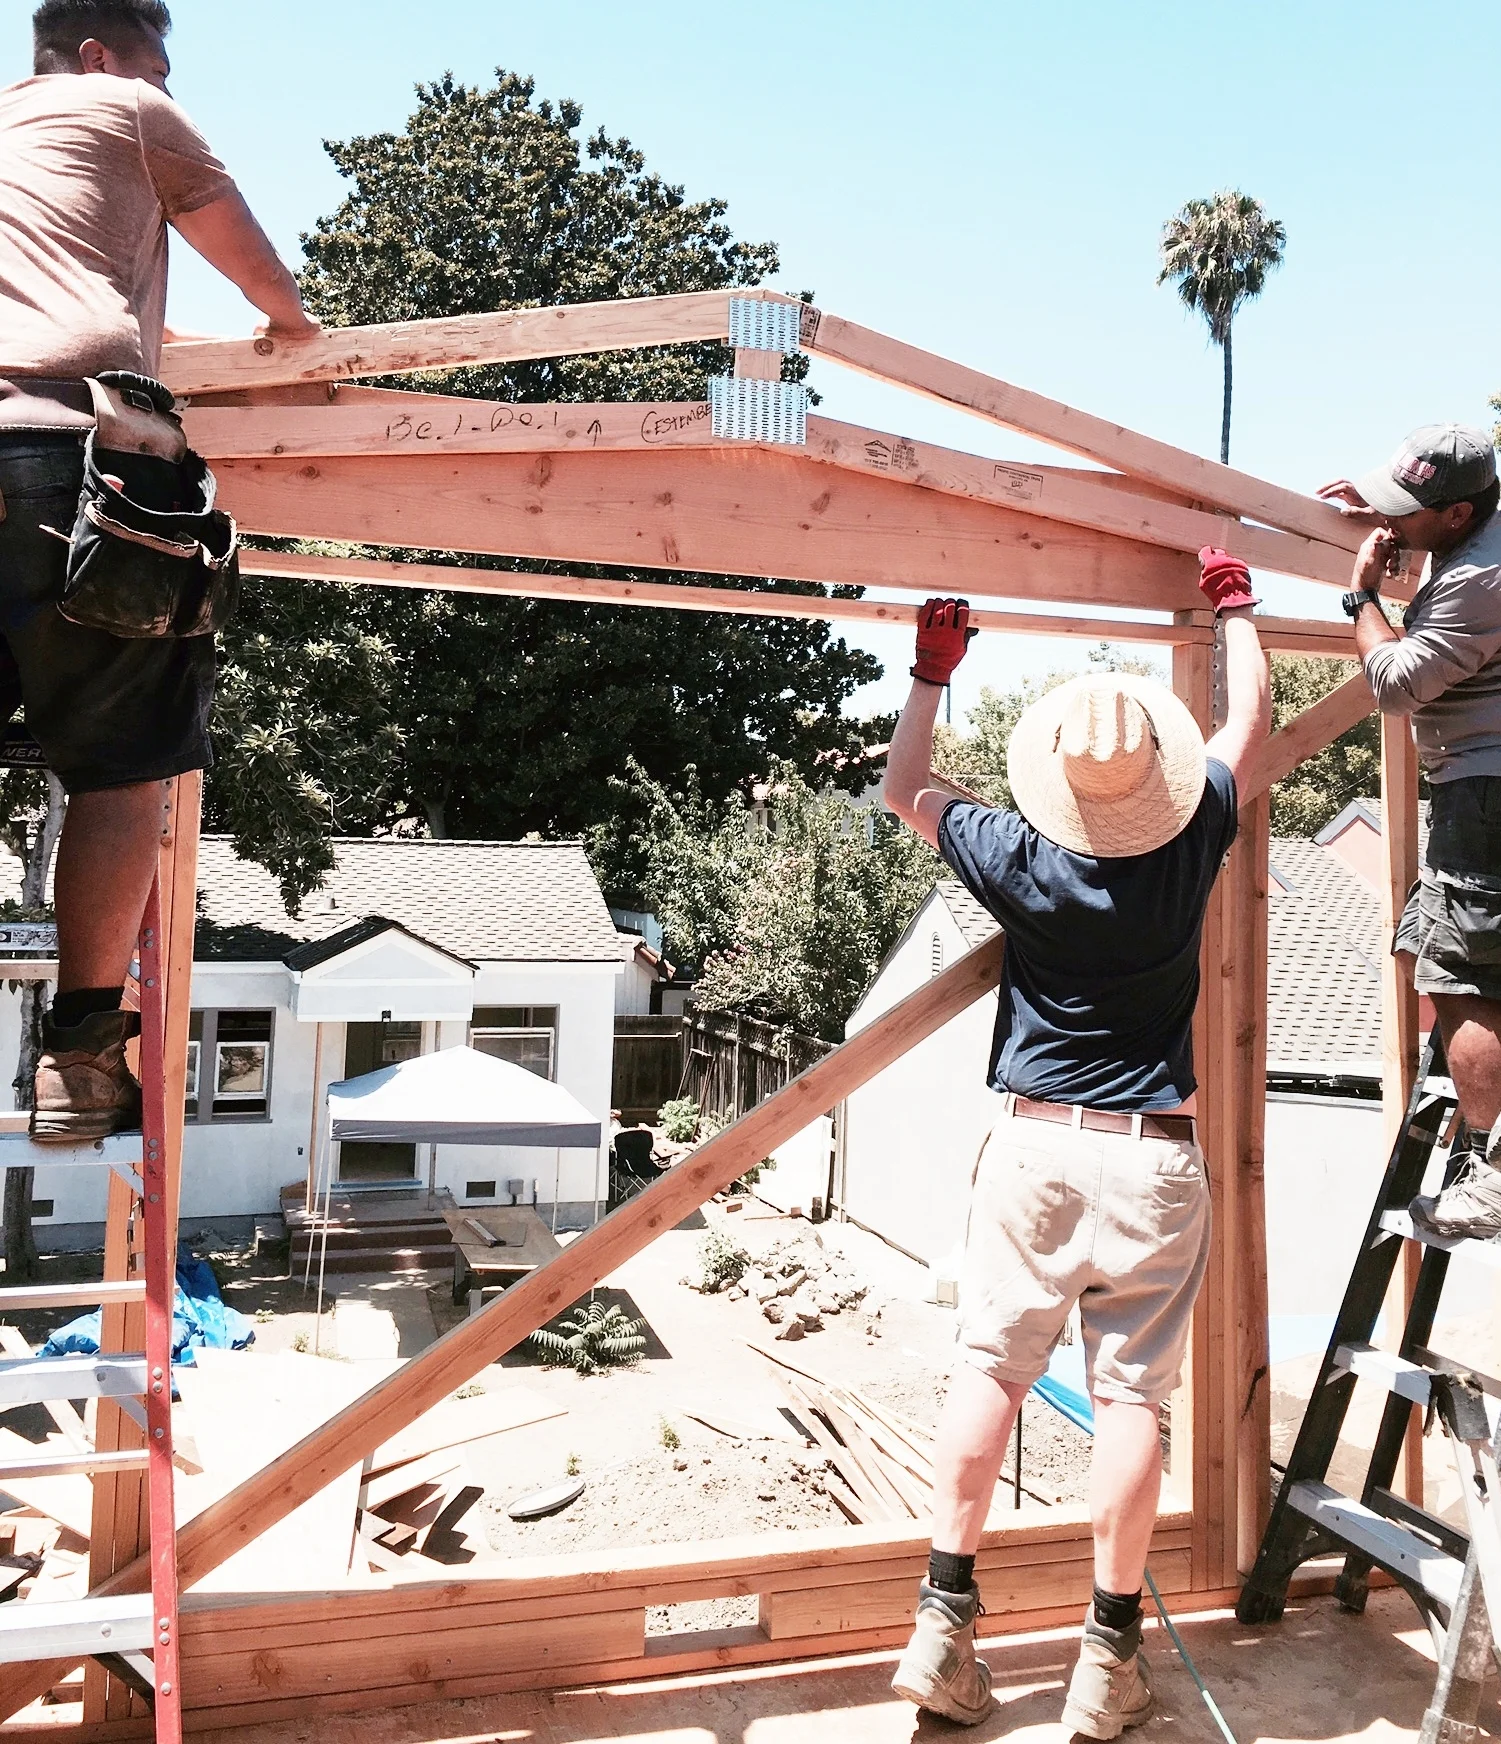
THE FRONT DORMER
In order to create headroom in the existing attic, we had to elevate the existing roof system. In our case, we created Dormer roofs in the front and back of the house. This one is called a Shed Dormer. A Shed Dorner is a popular addition because it extends the living space with height and width. The eave line is parallel to the eave line of the roof. In this case, the addition of a shed dormer to the attic not only floods the once-dark room with light but also provide much needed head room.
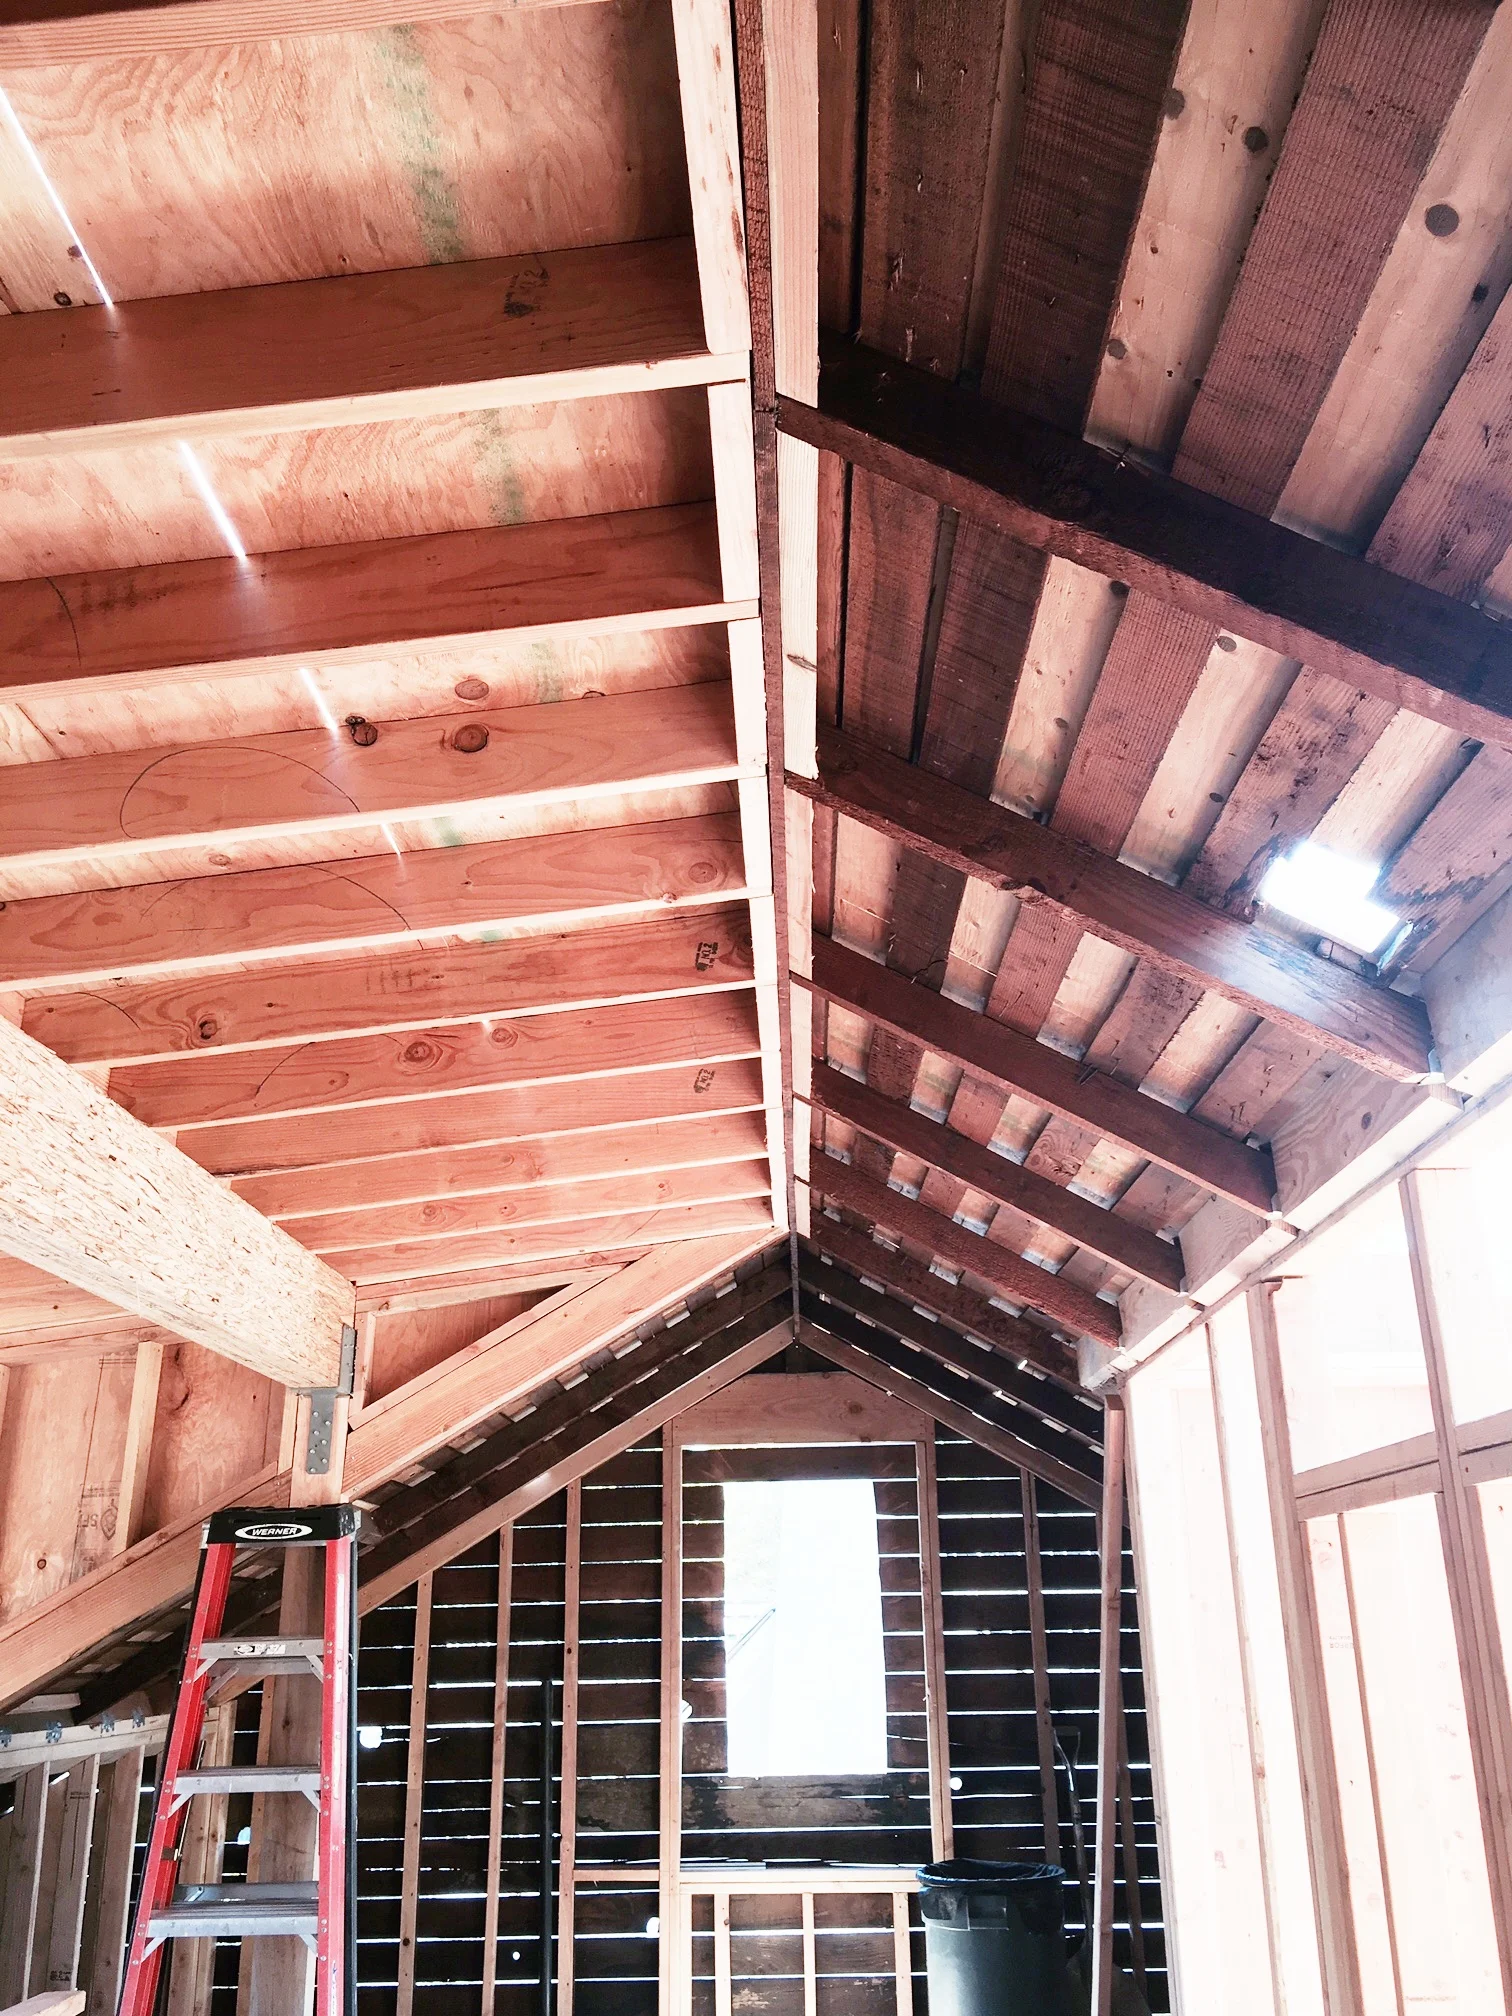
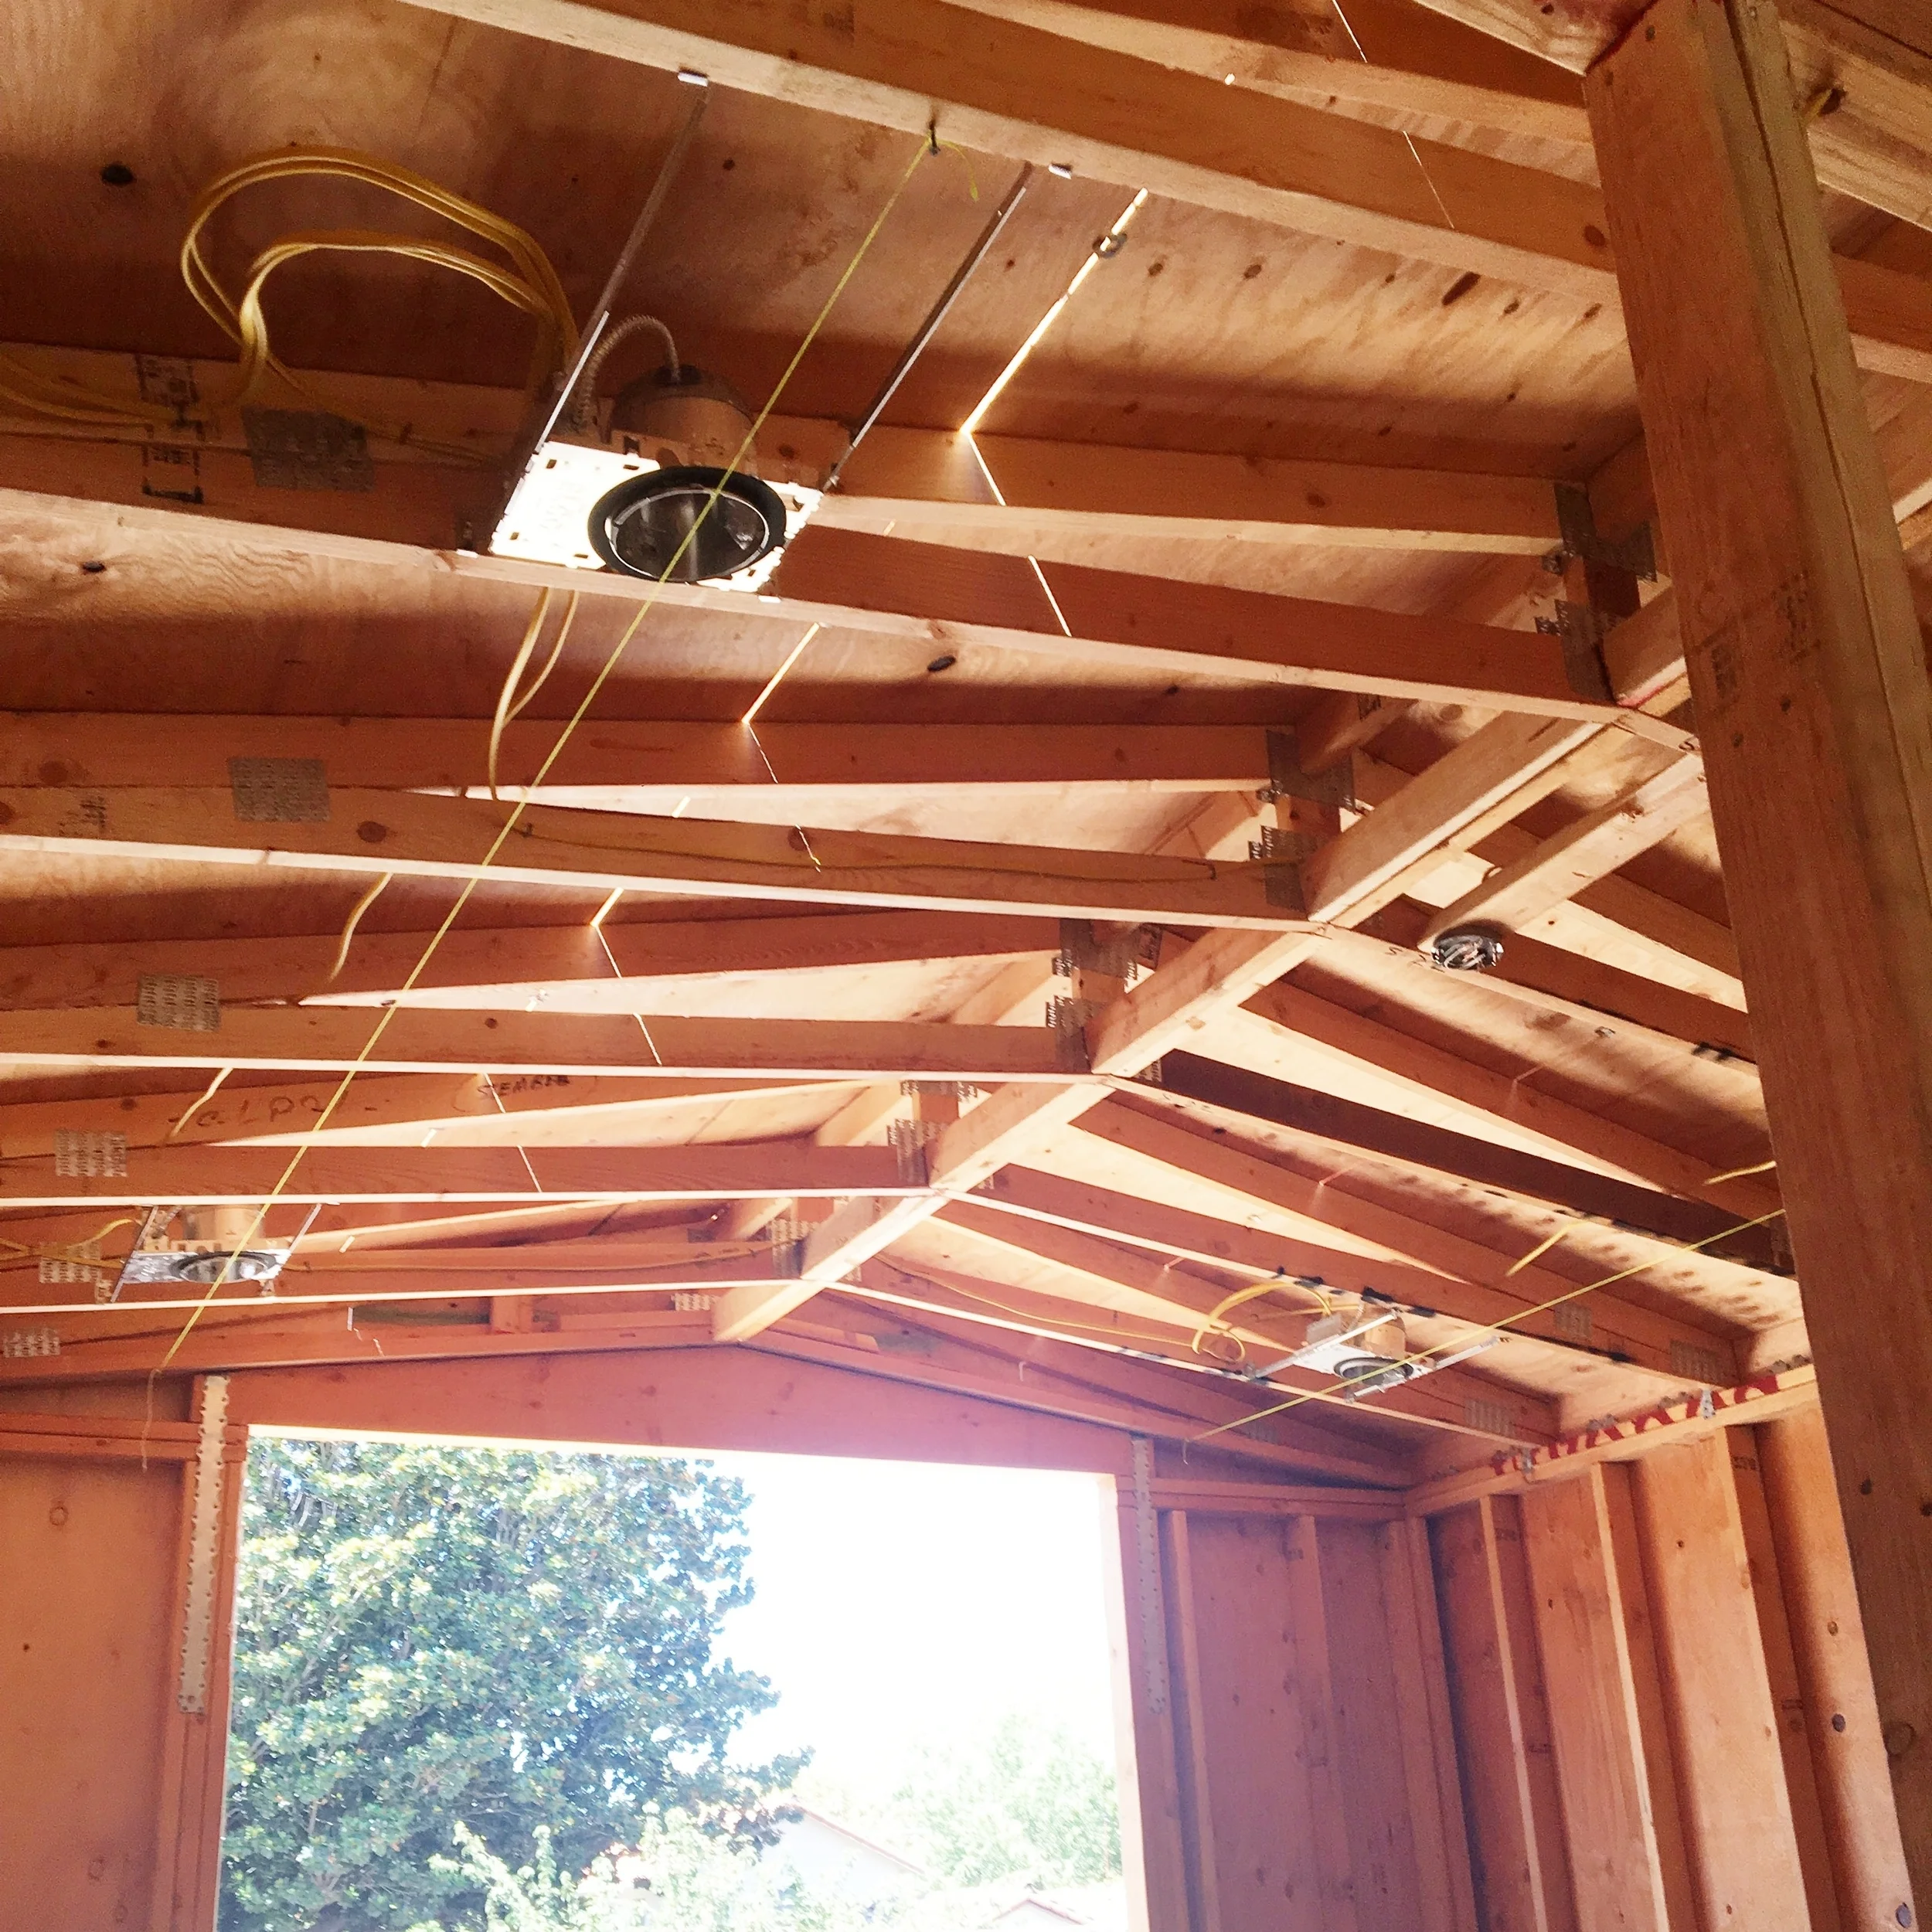
INTERIOR OF DORMER SHED

This is the main space of the master suite which will occupy the bed, side tables, etc.
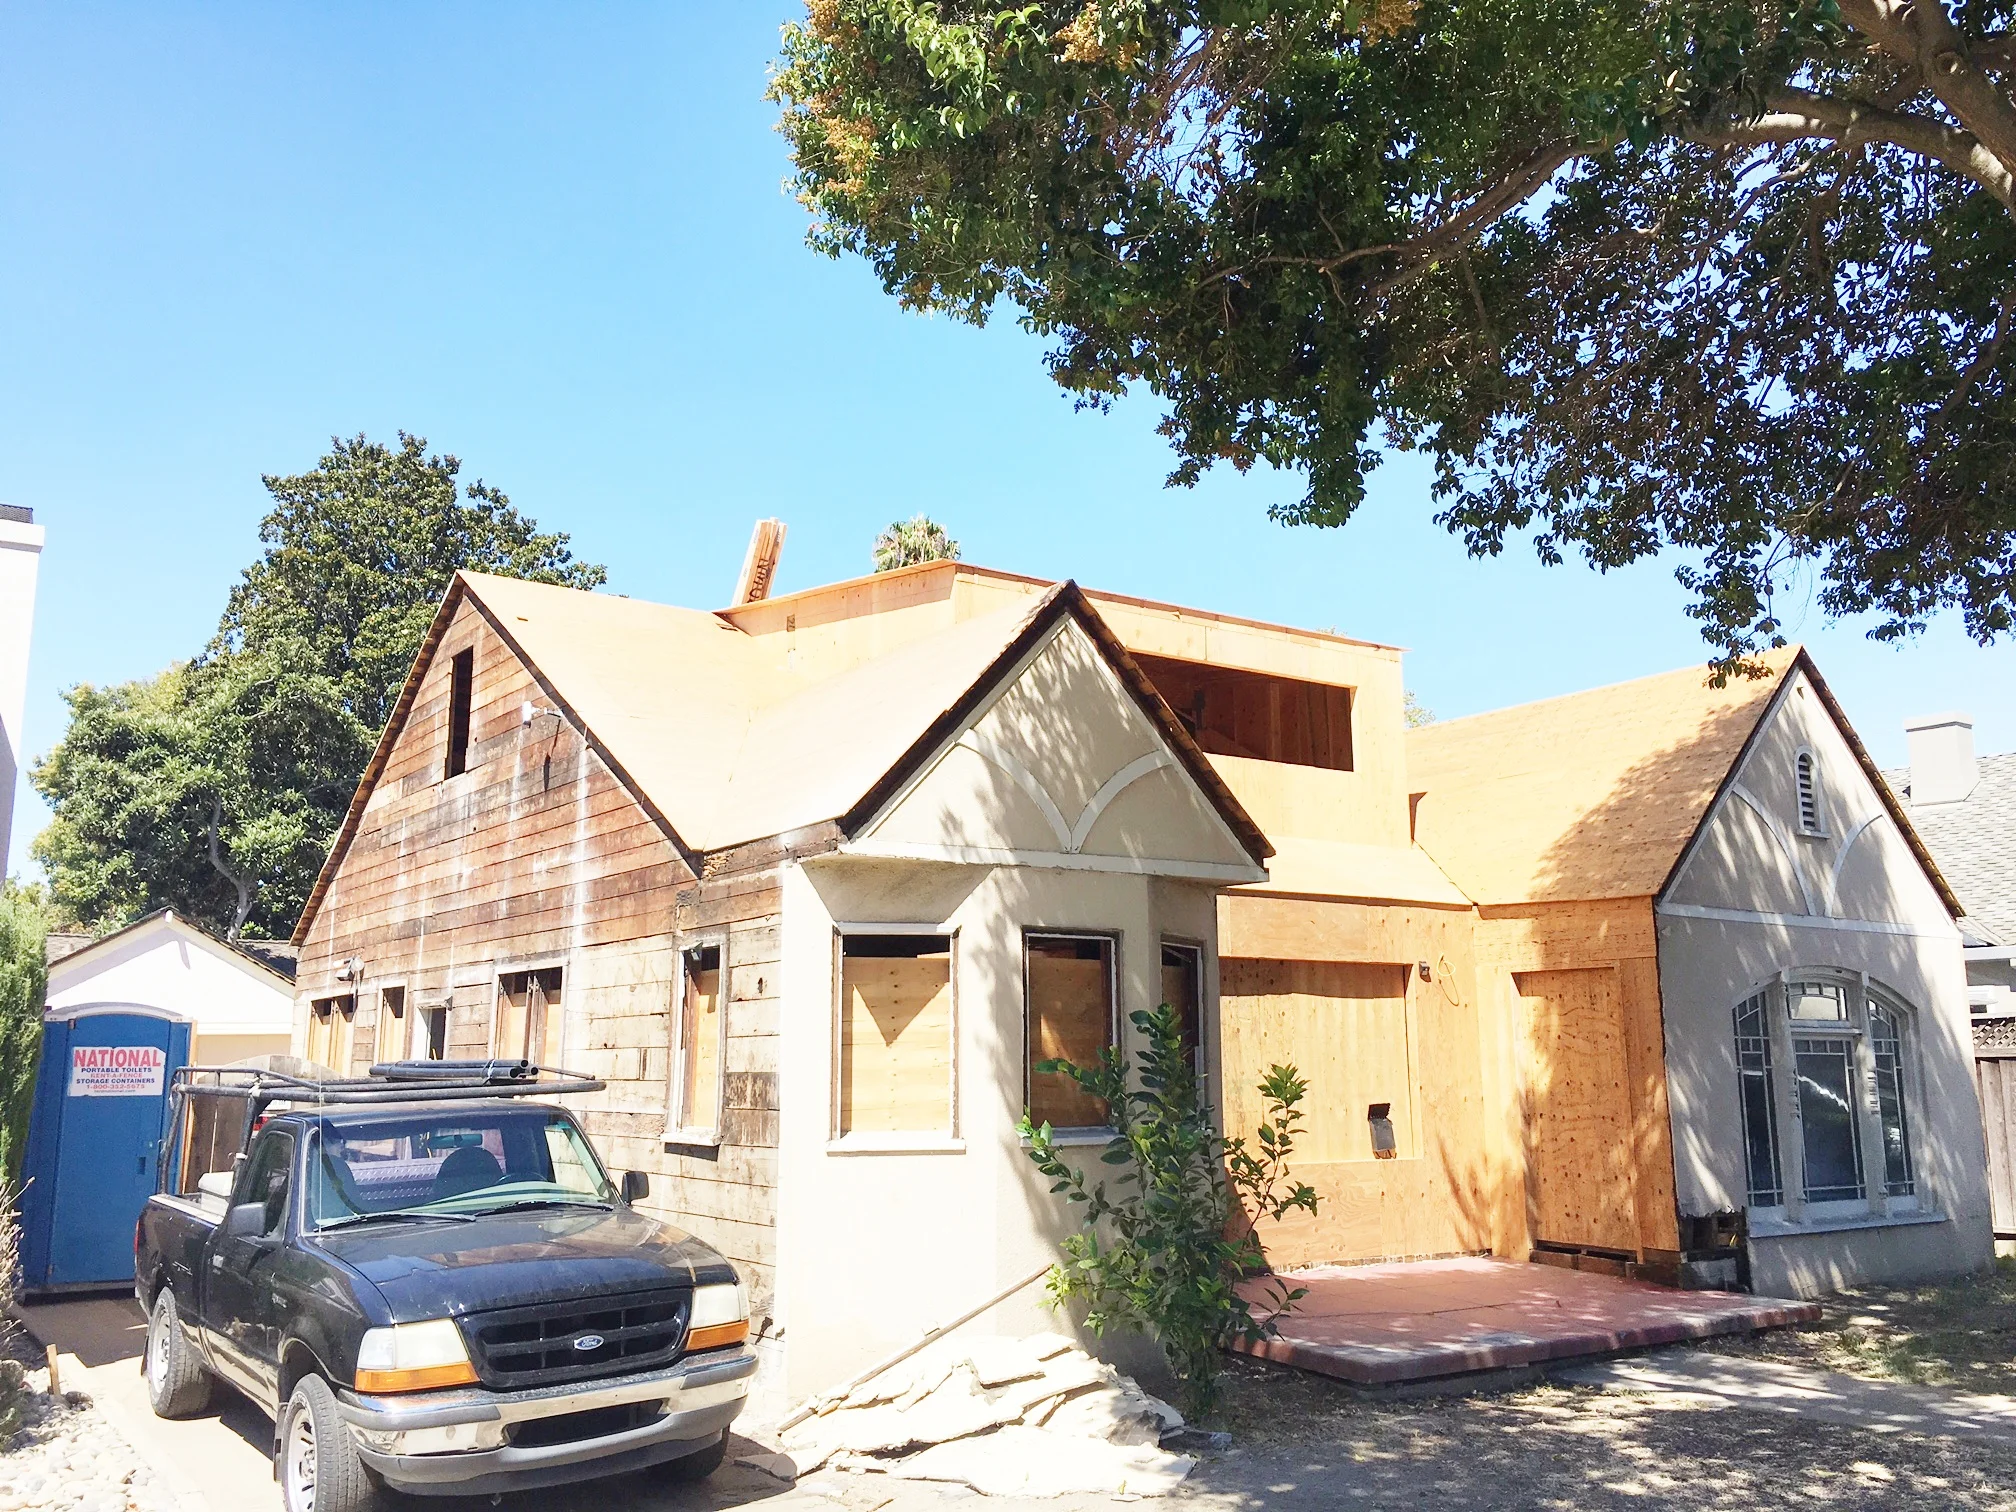
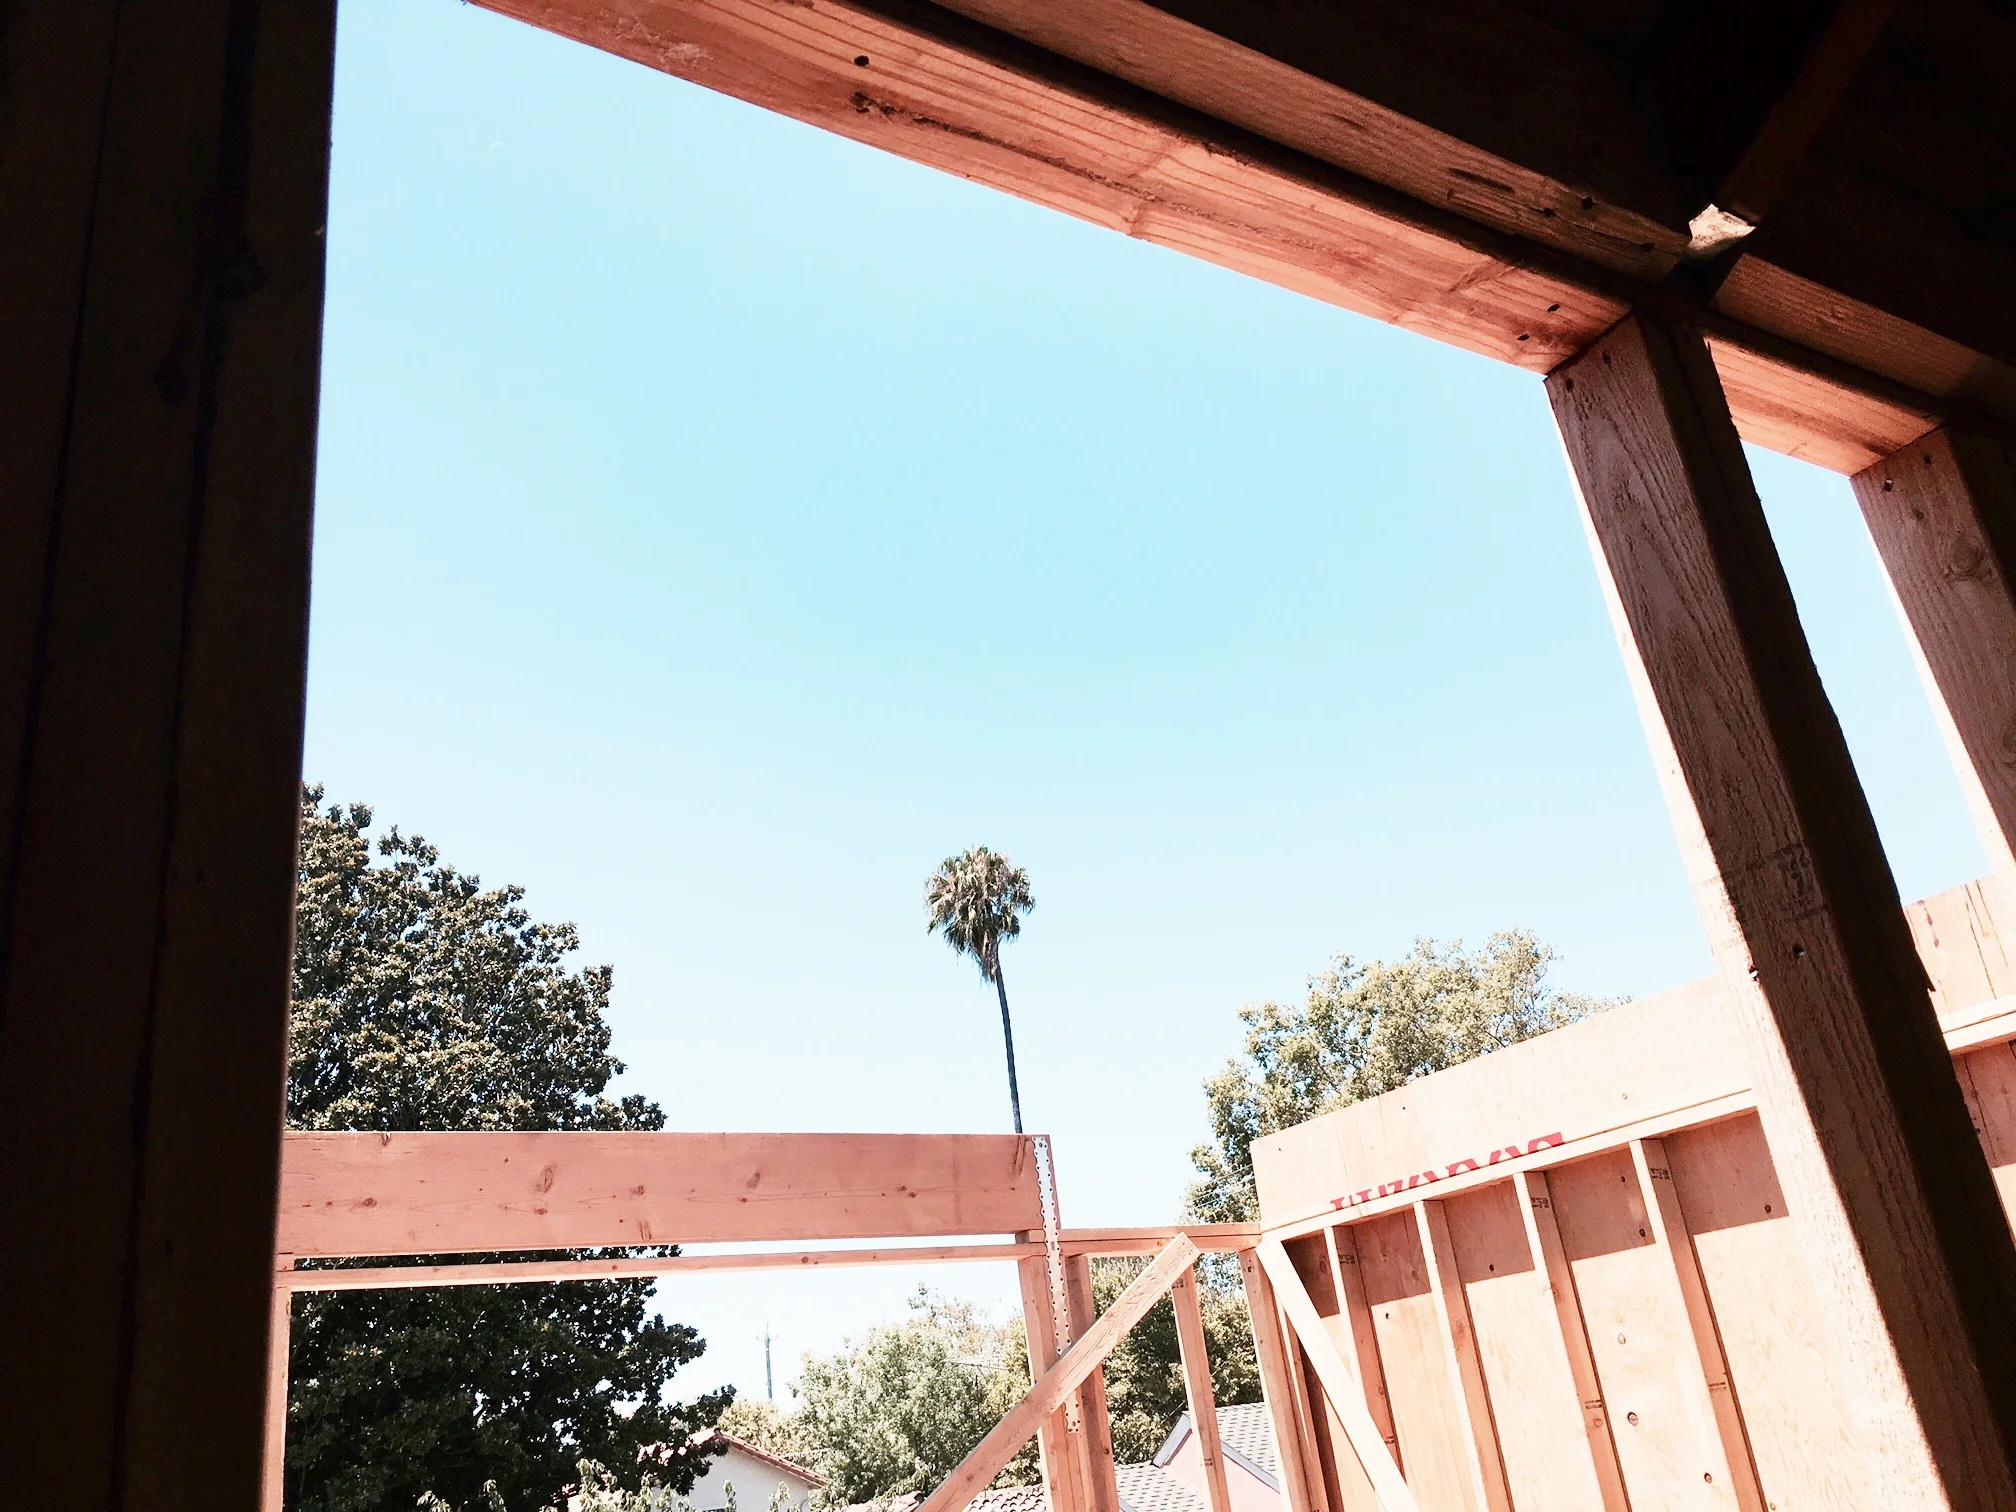
Here's a shot to show where the Shed Dormer (left) meets the existing roof on the back side of the house.
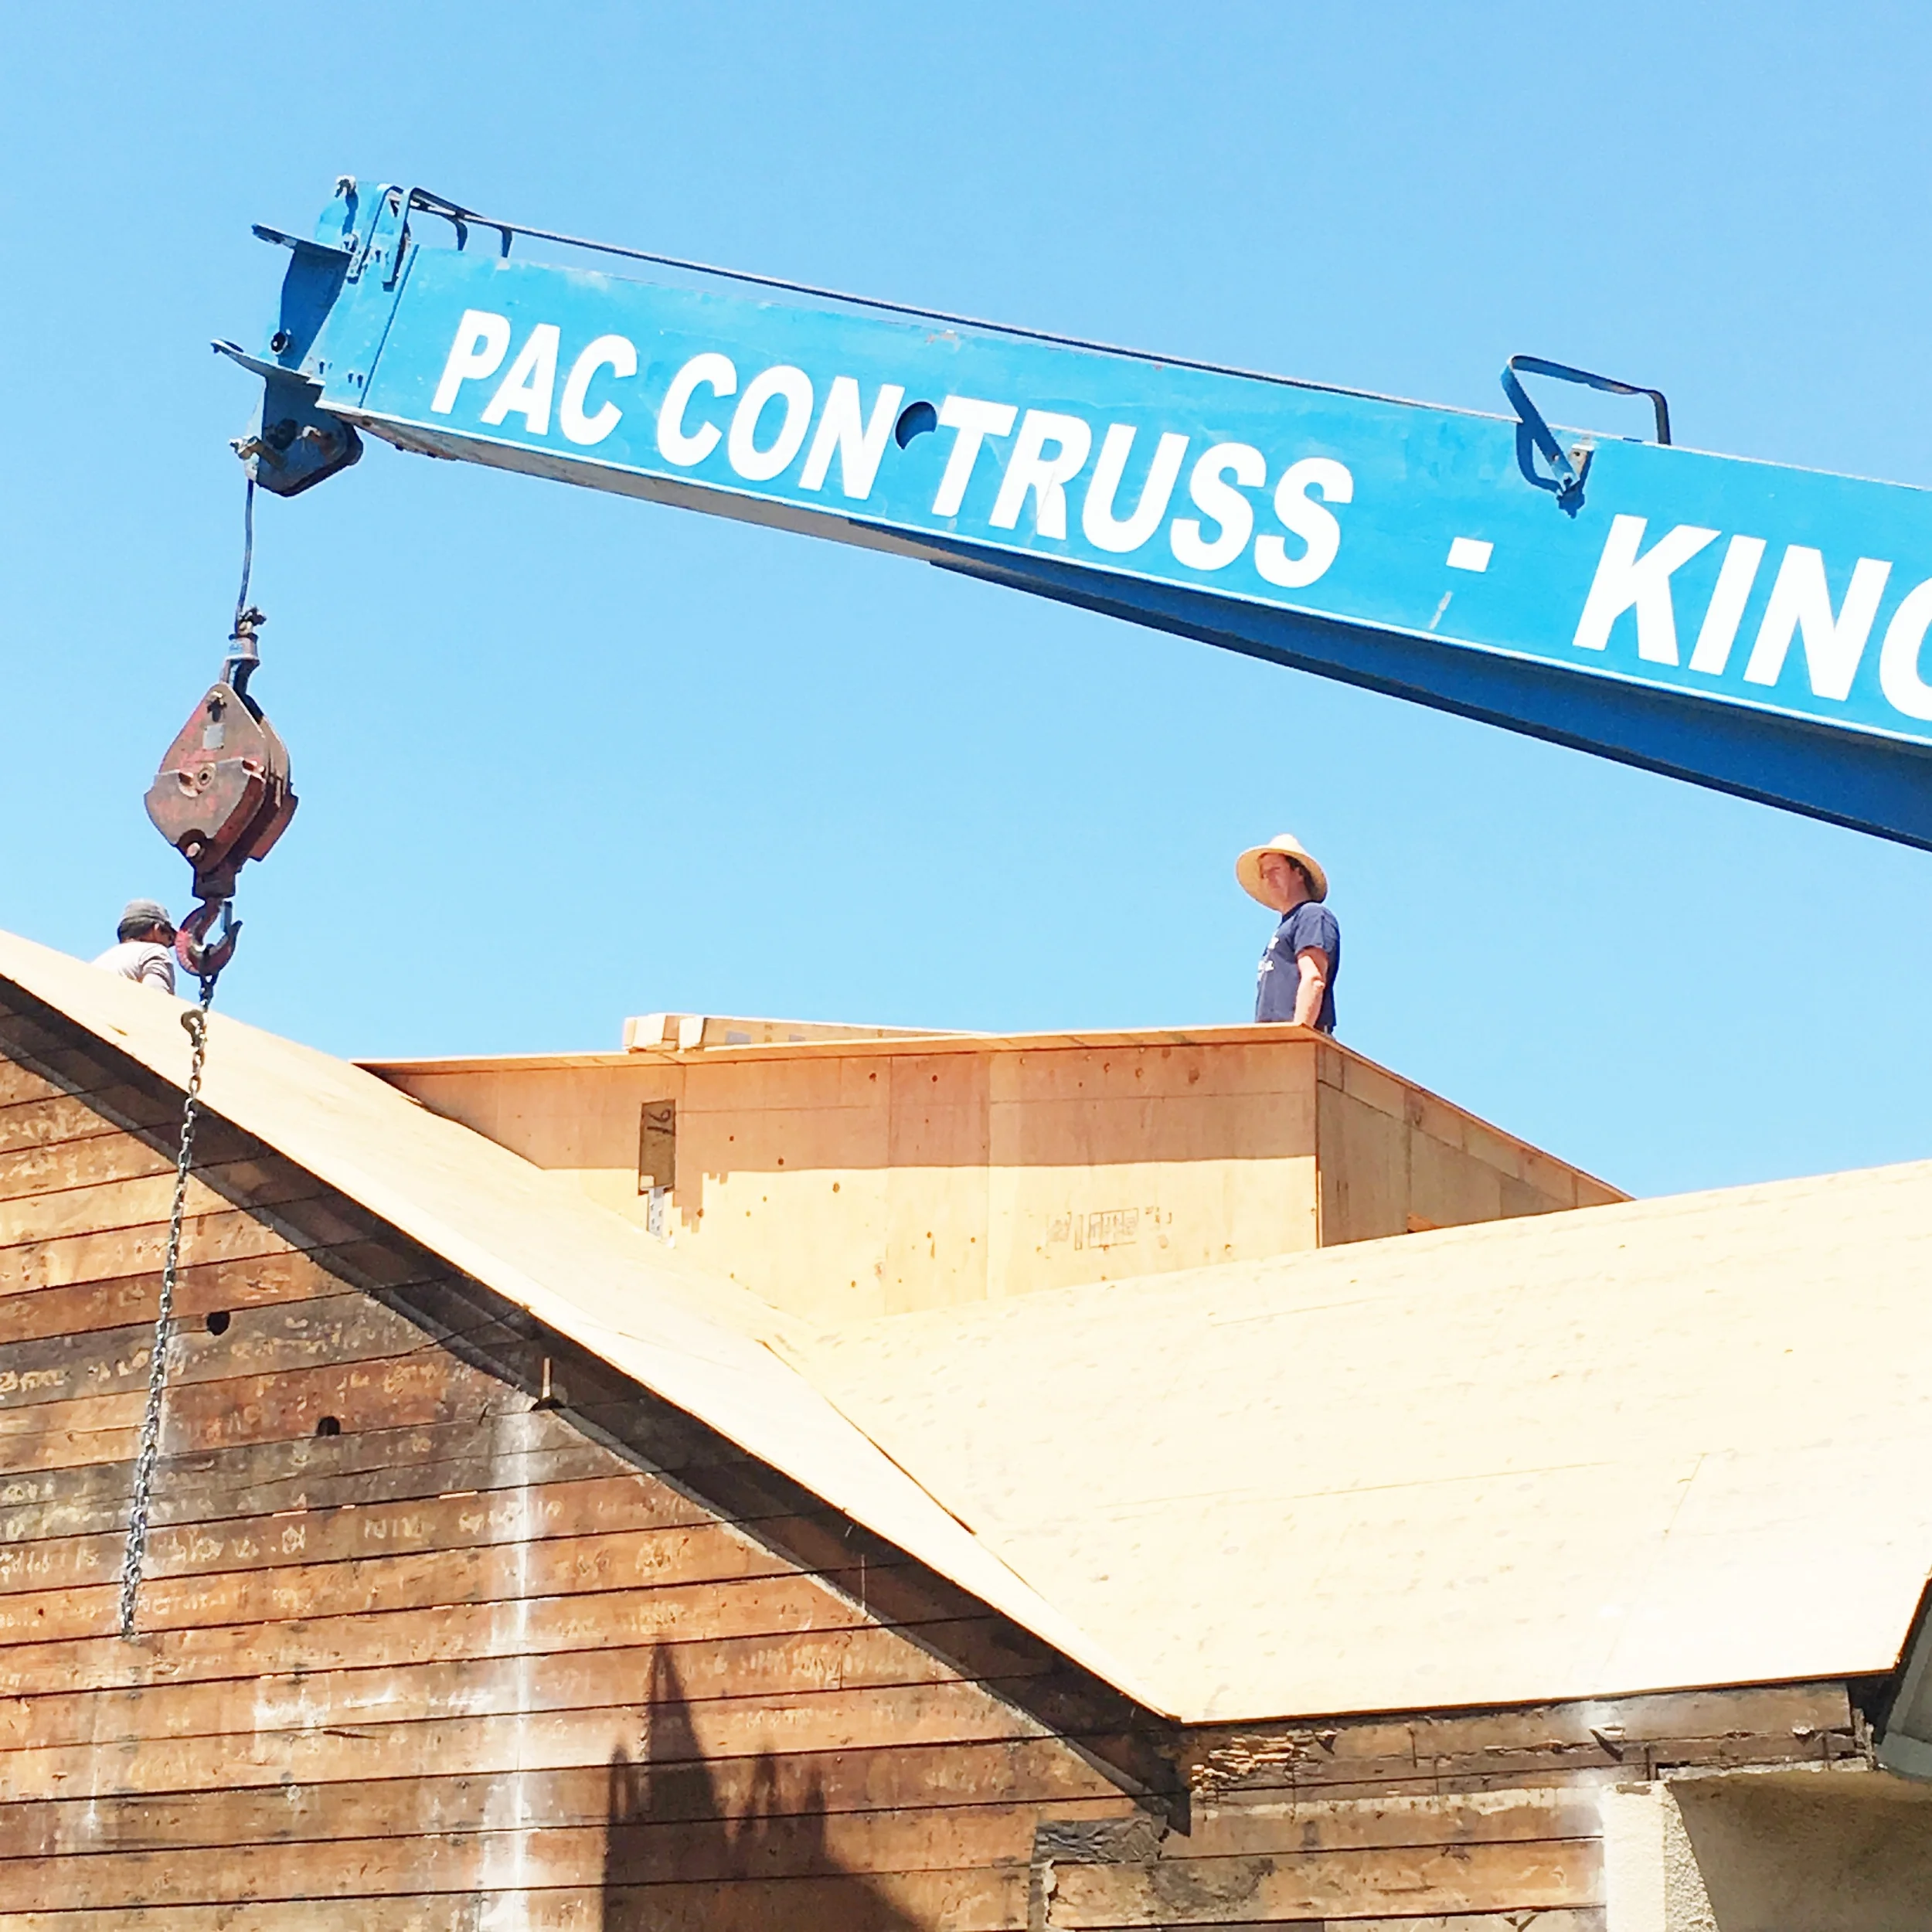
Just a cool shot of Lance on the roof waiting for the crane to start doing its stuff.
The back dormer roof
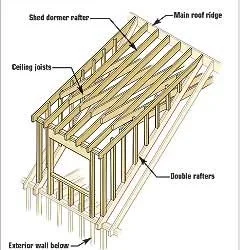
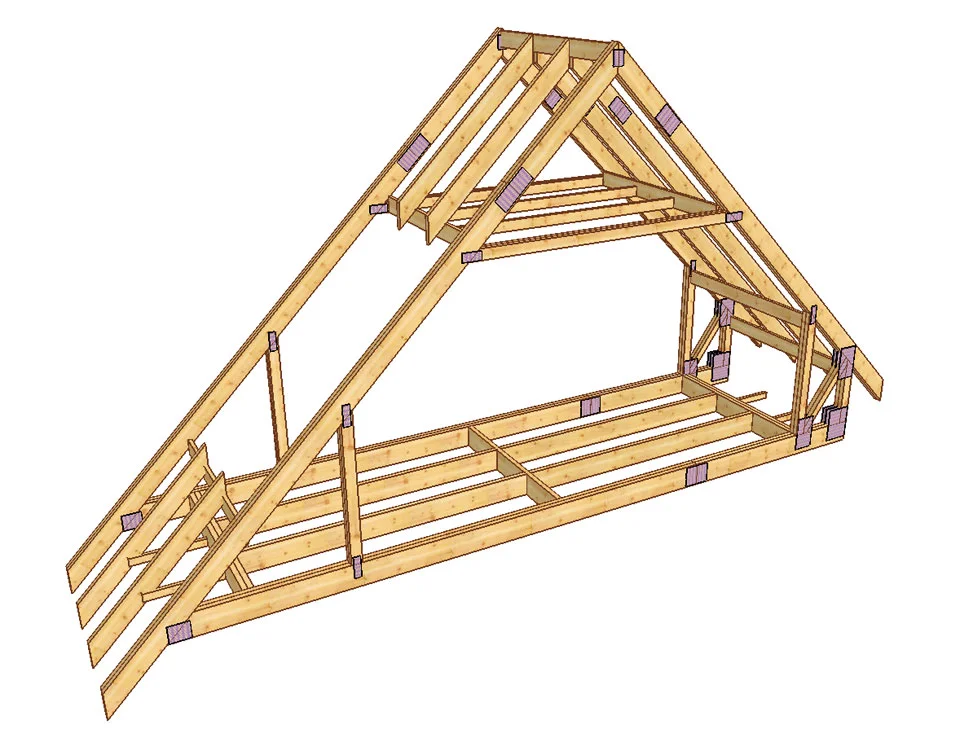
The back dormer needed a Truss system, which is basically a structure that creates an upsidedown "V". See the diagram to the right. In our case, it is a very shallow truss. But a truss none the less.
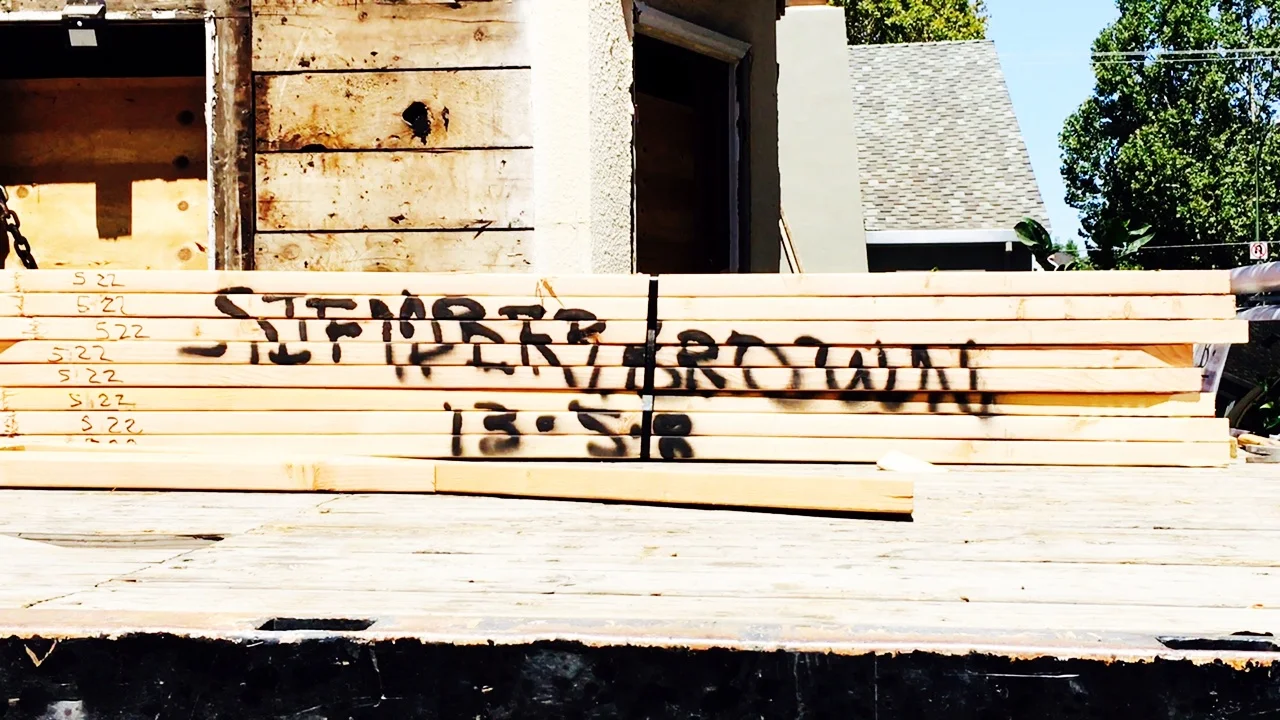
Just love this picture with our names spray painted on the trusses before they are hoisted up.
Here's the area where the back roof system will be installed.
And here are the trusses being installed.
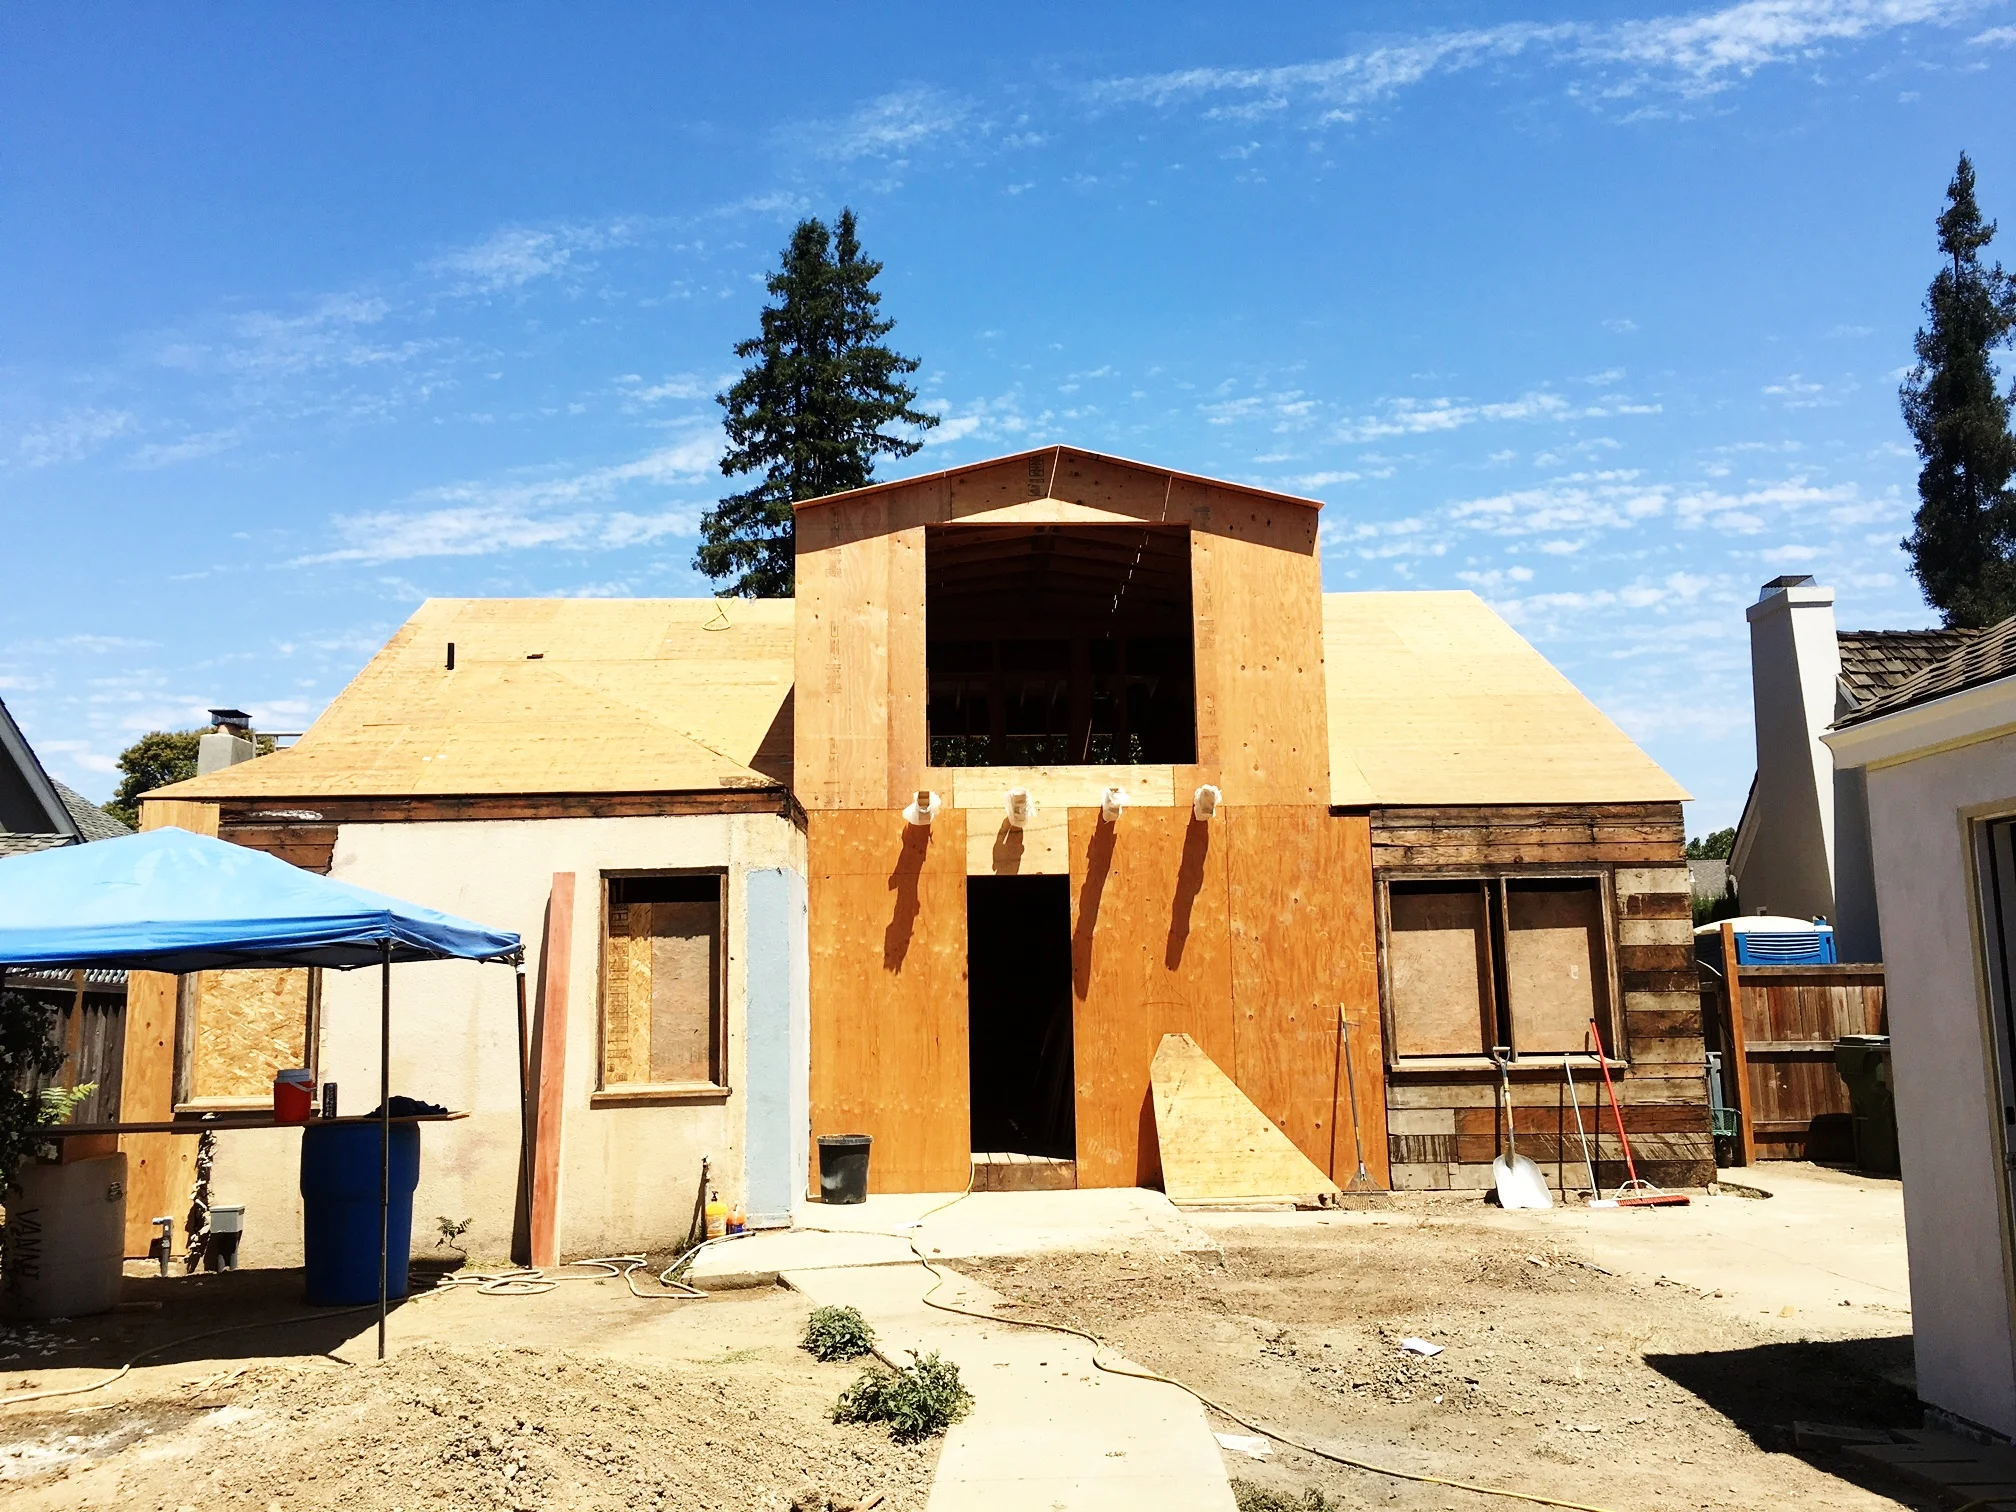
And here it is completed.
Here's the video of the trusses being delivered and hoisted up onto the house.
THE BACK OF THE HOUSE
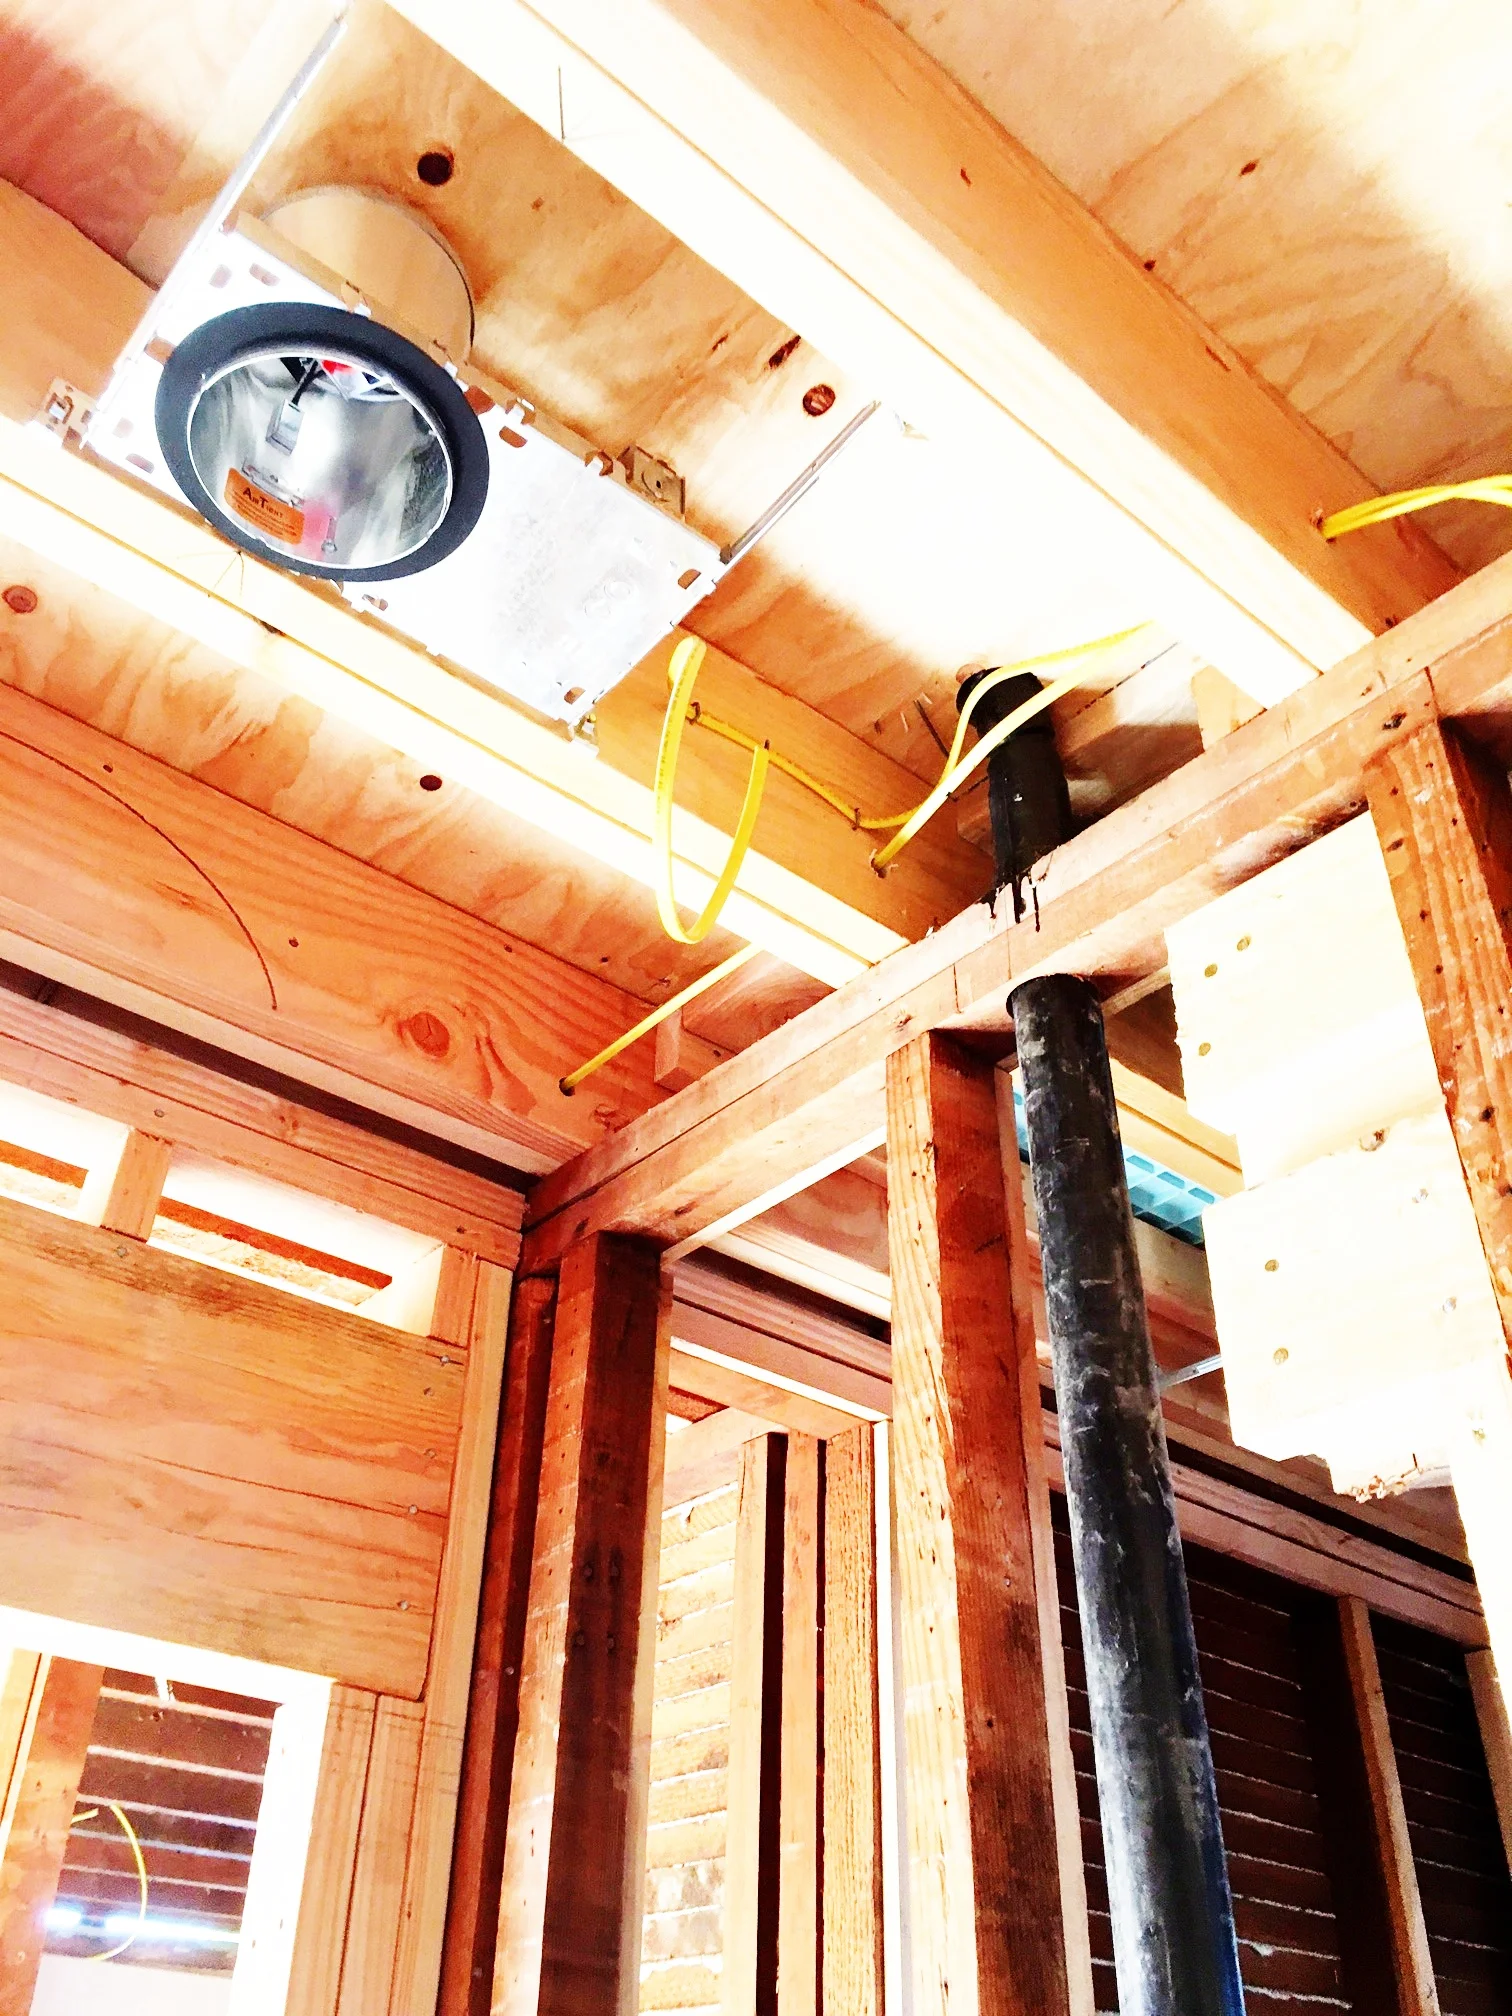
The guts of the house.
This is all the unglamorous stuff that actually makes the house function-able. Since all the walls are open, it makes it especially easy to put in all the plumbing and electricity exactly where we want it.
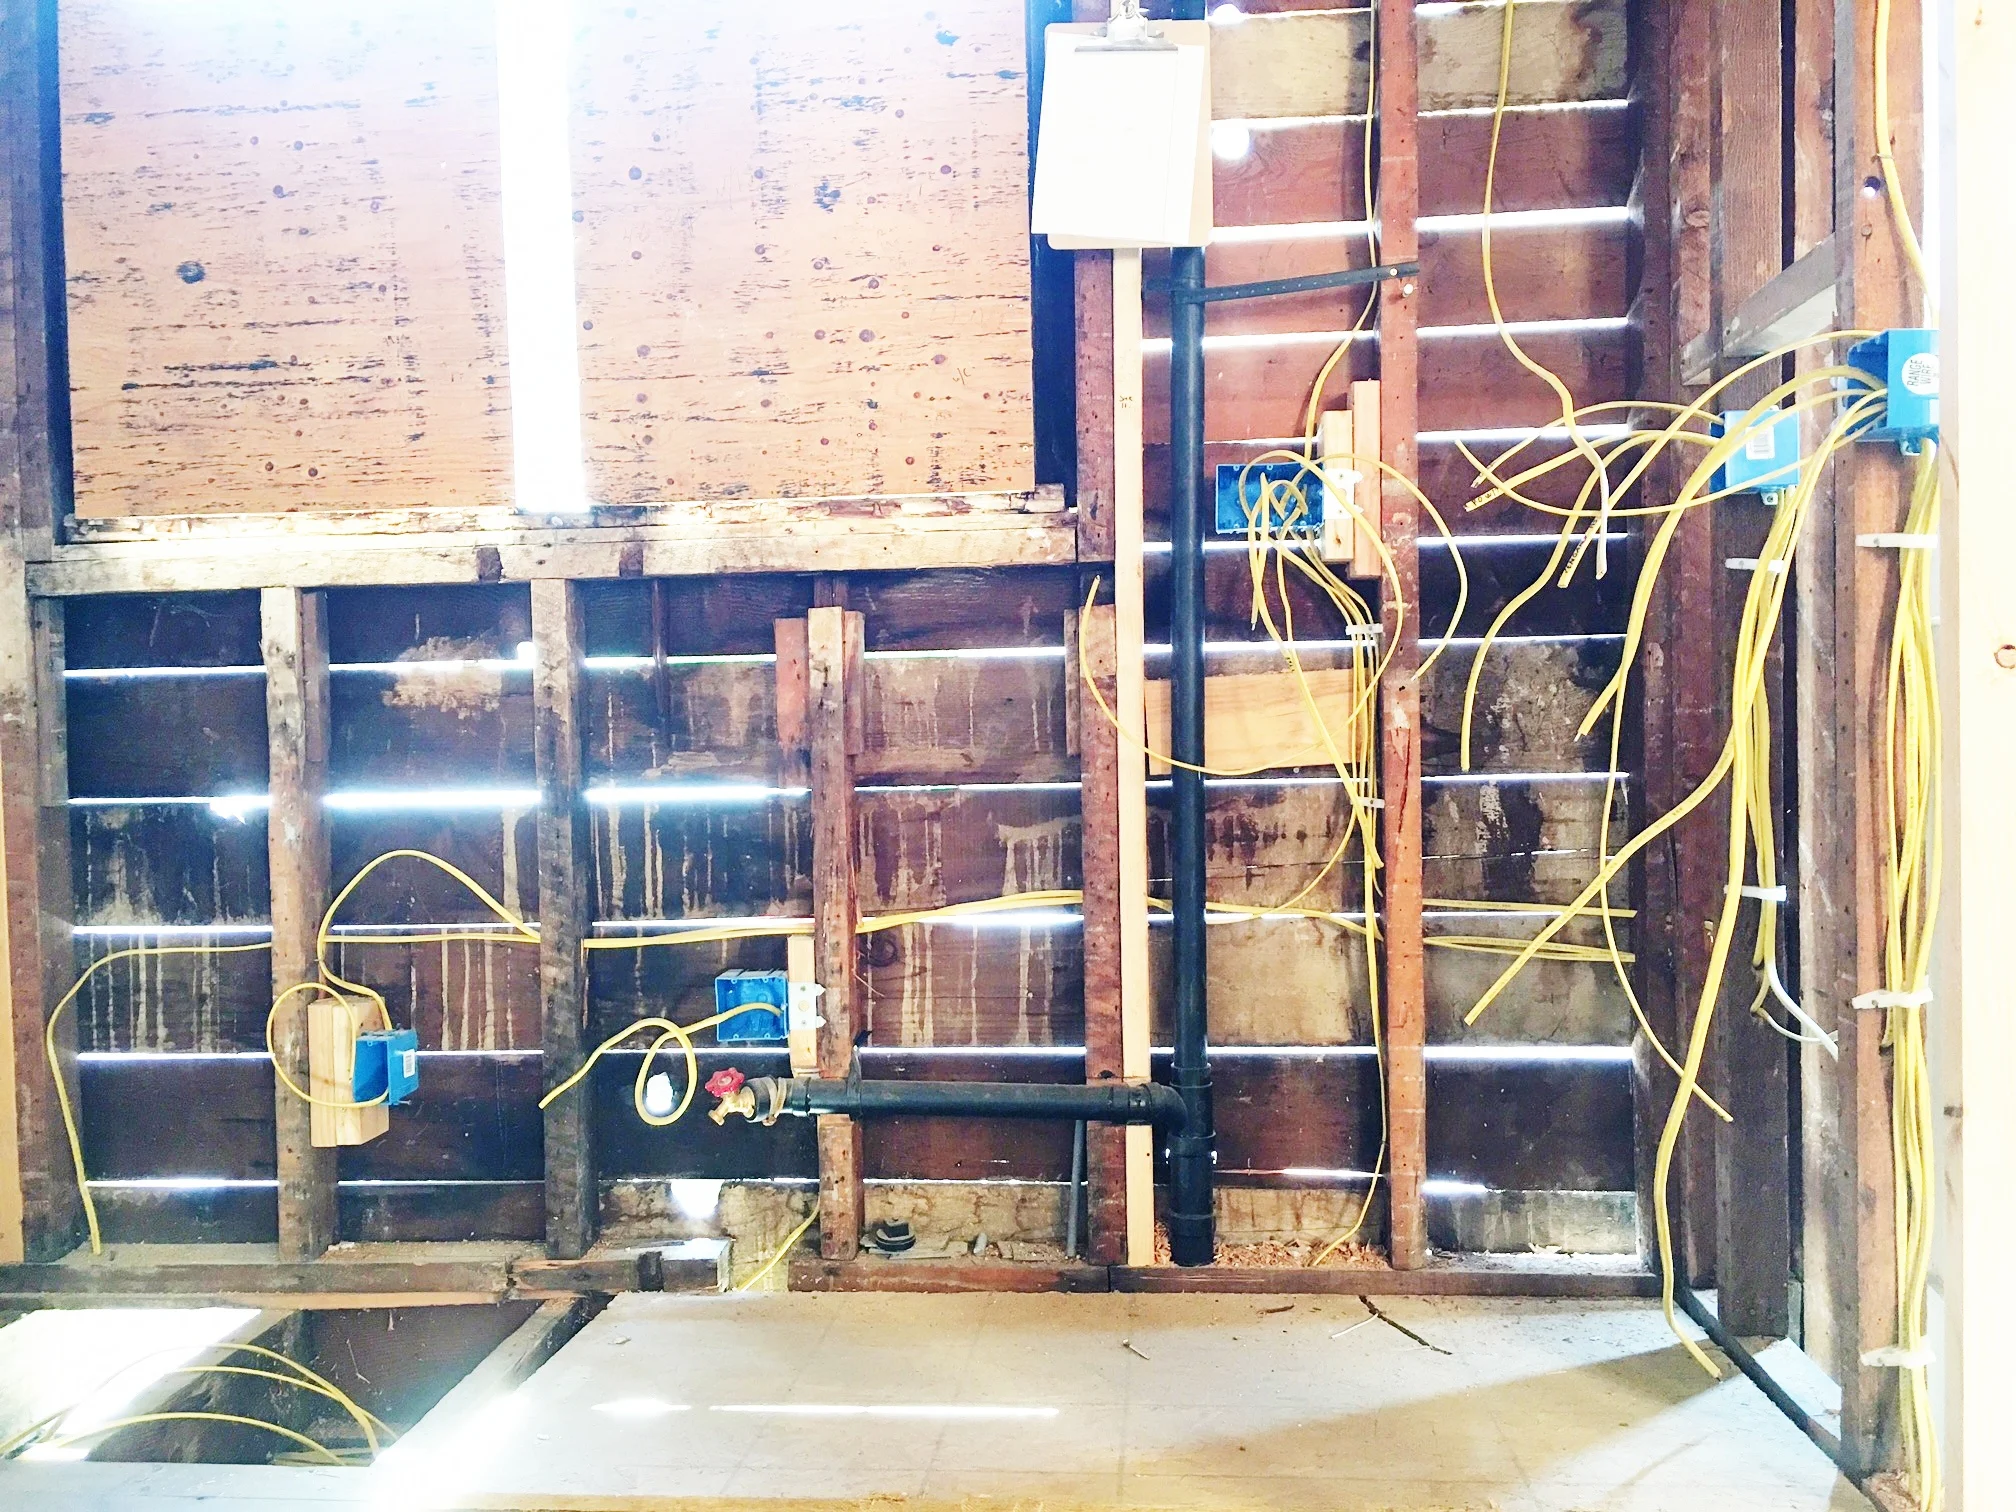
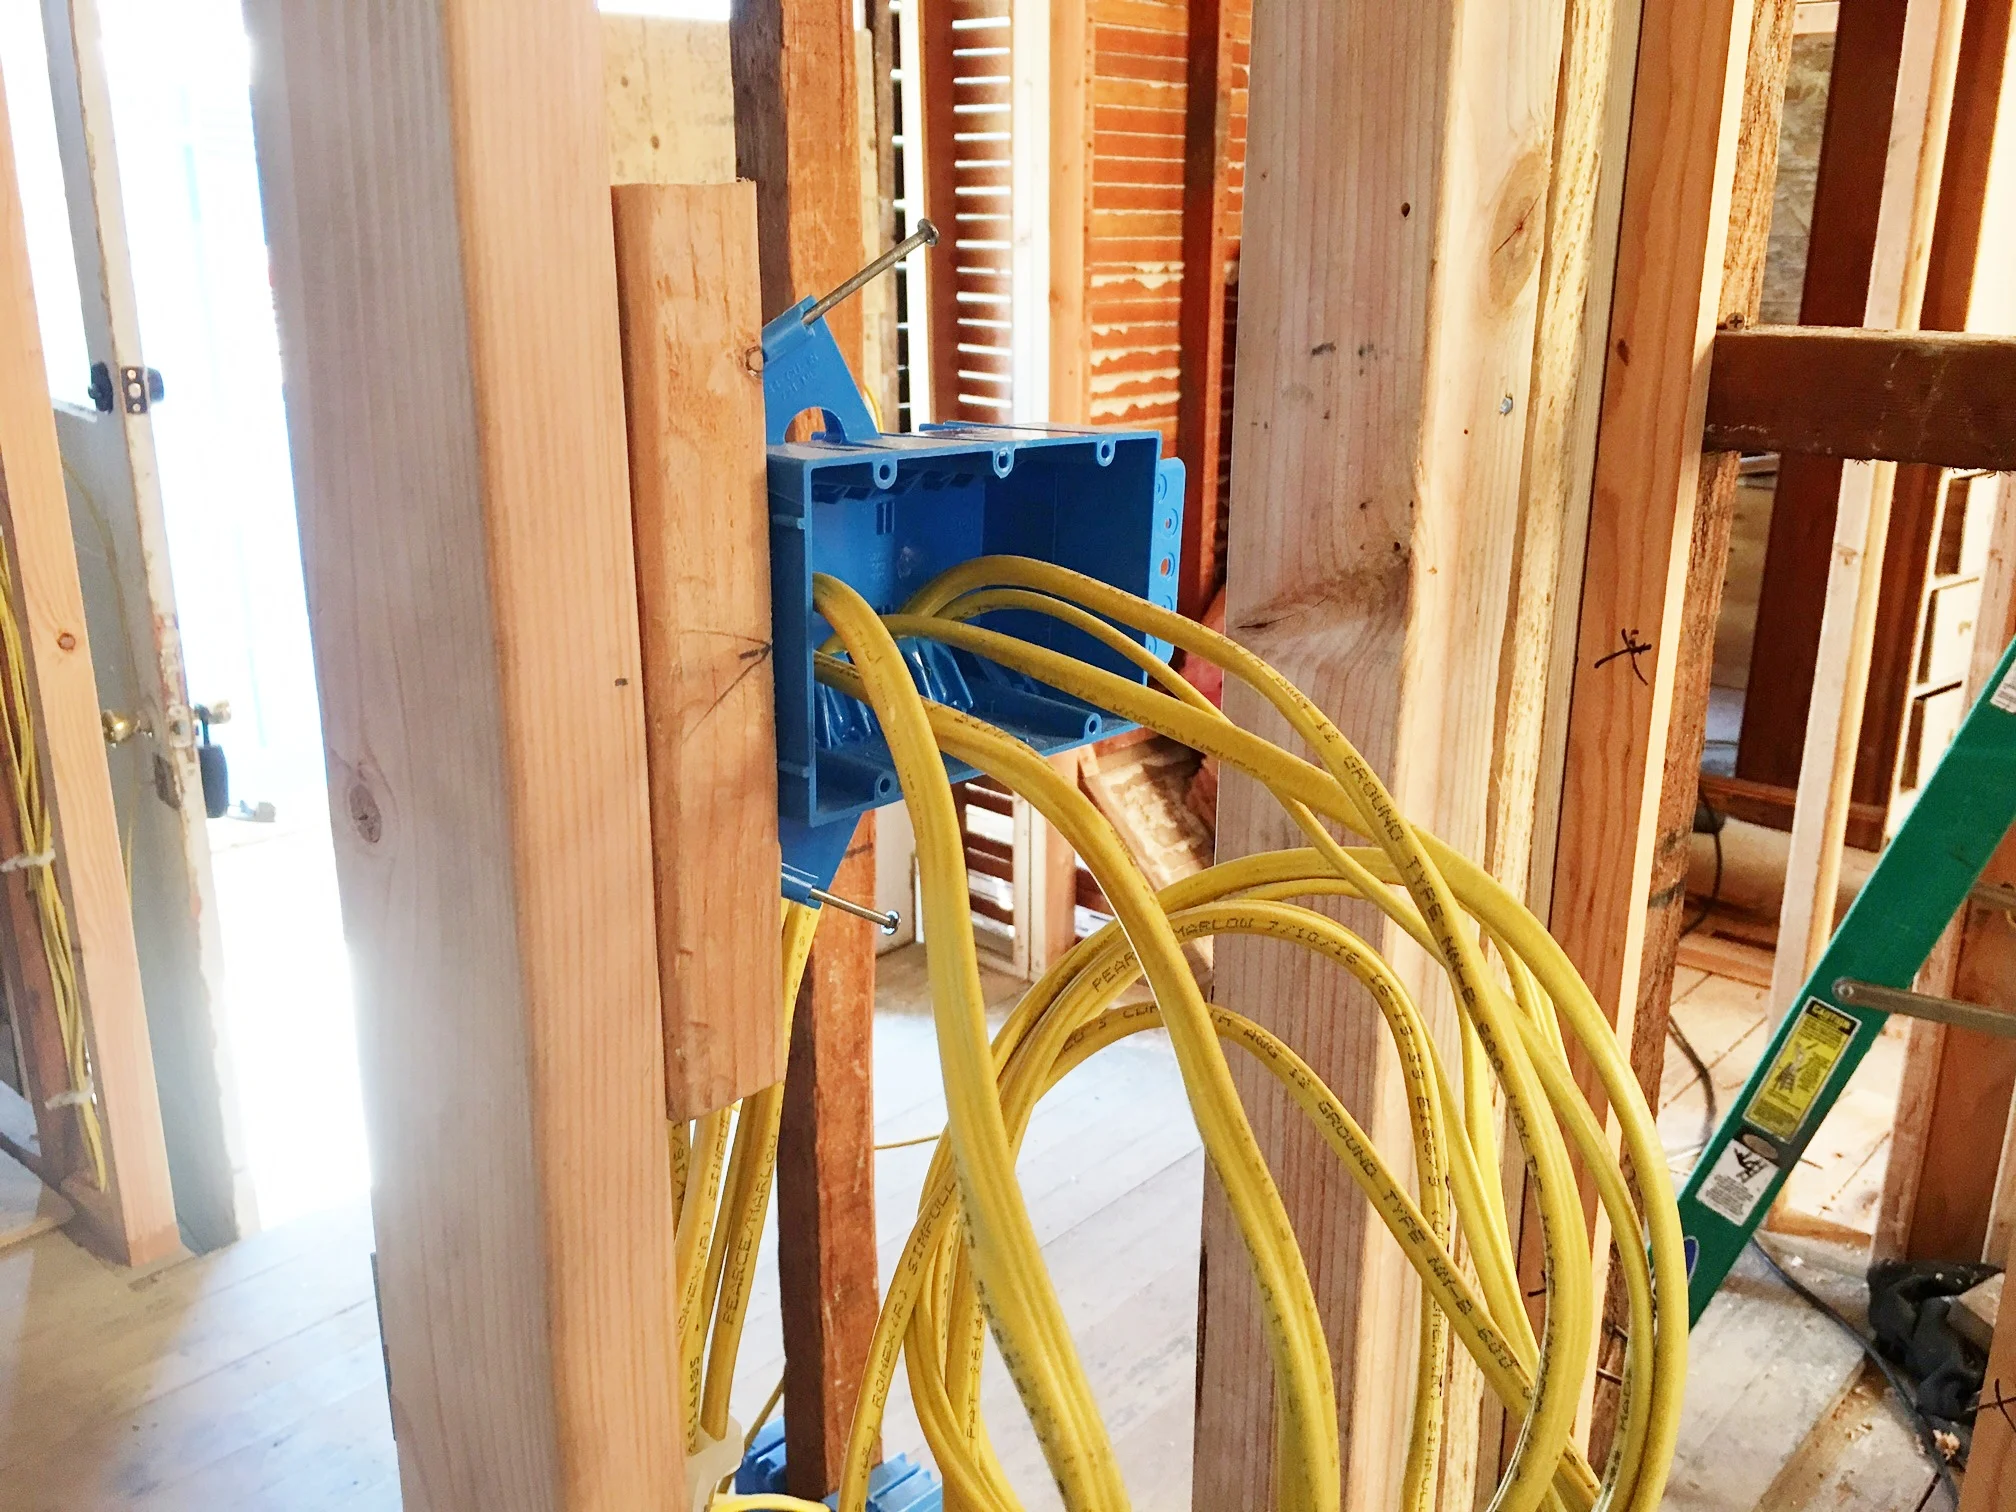

In order for all these pipes and plug to go in, all the decisions of vanity, cabinet and lighting have to be made. Luckily we've been making these decisions along the way (although there are final ones to be made and its a little nerve-wracking).
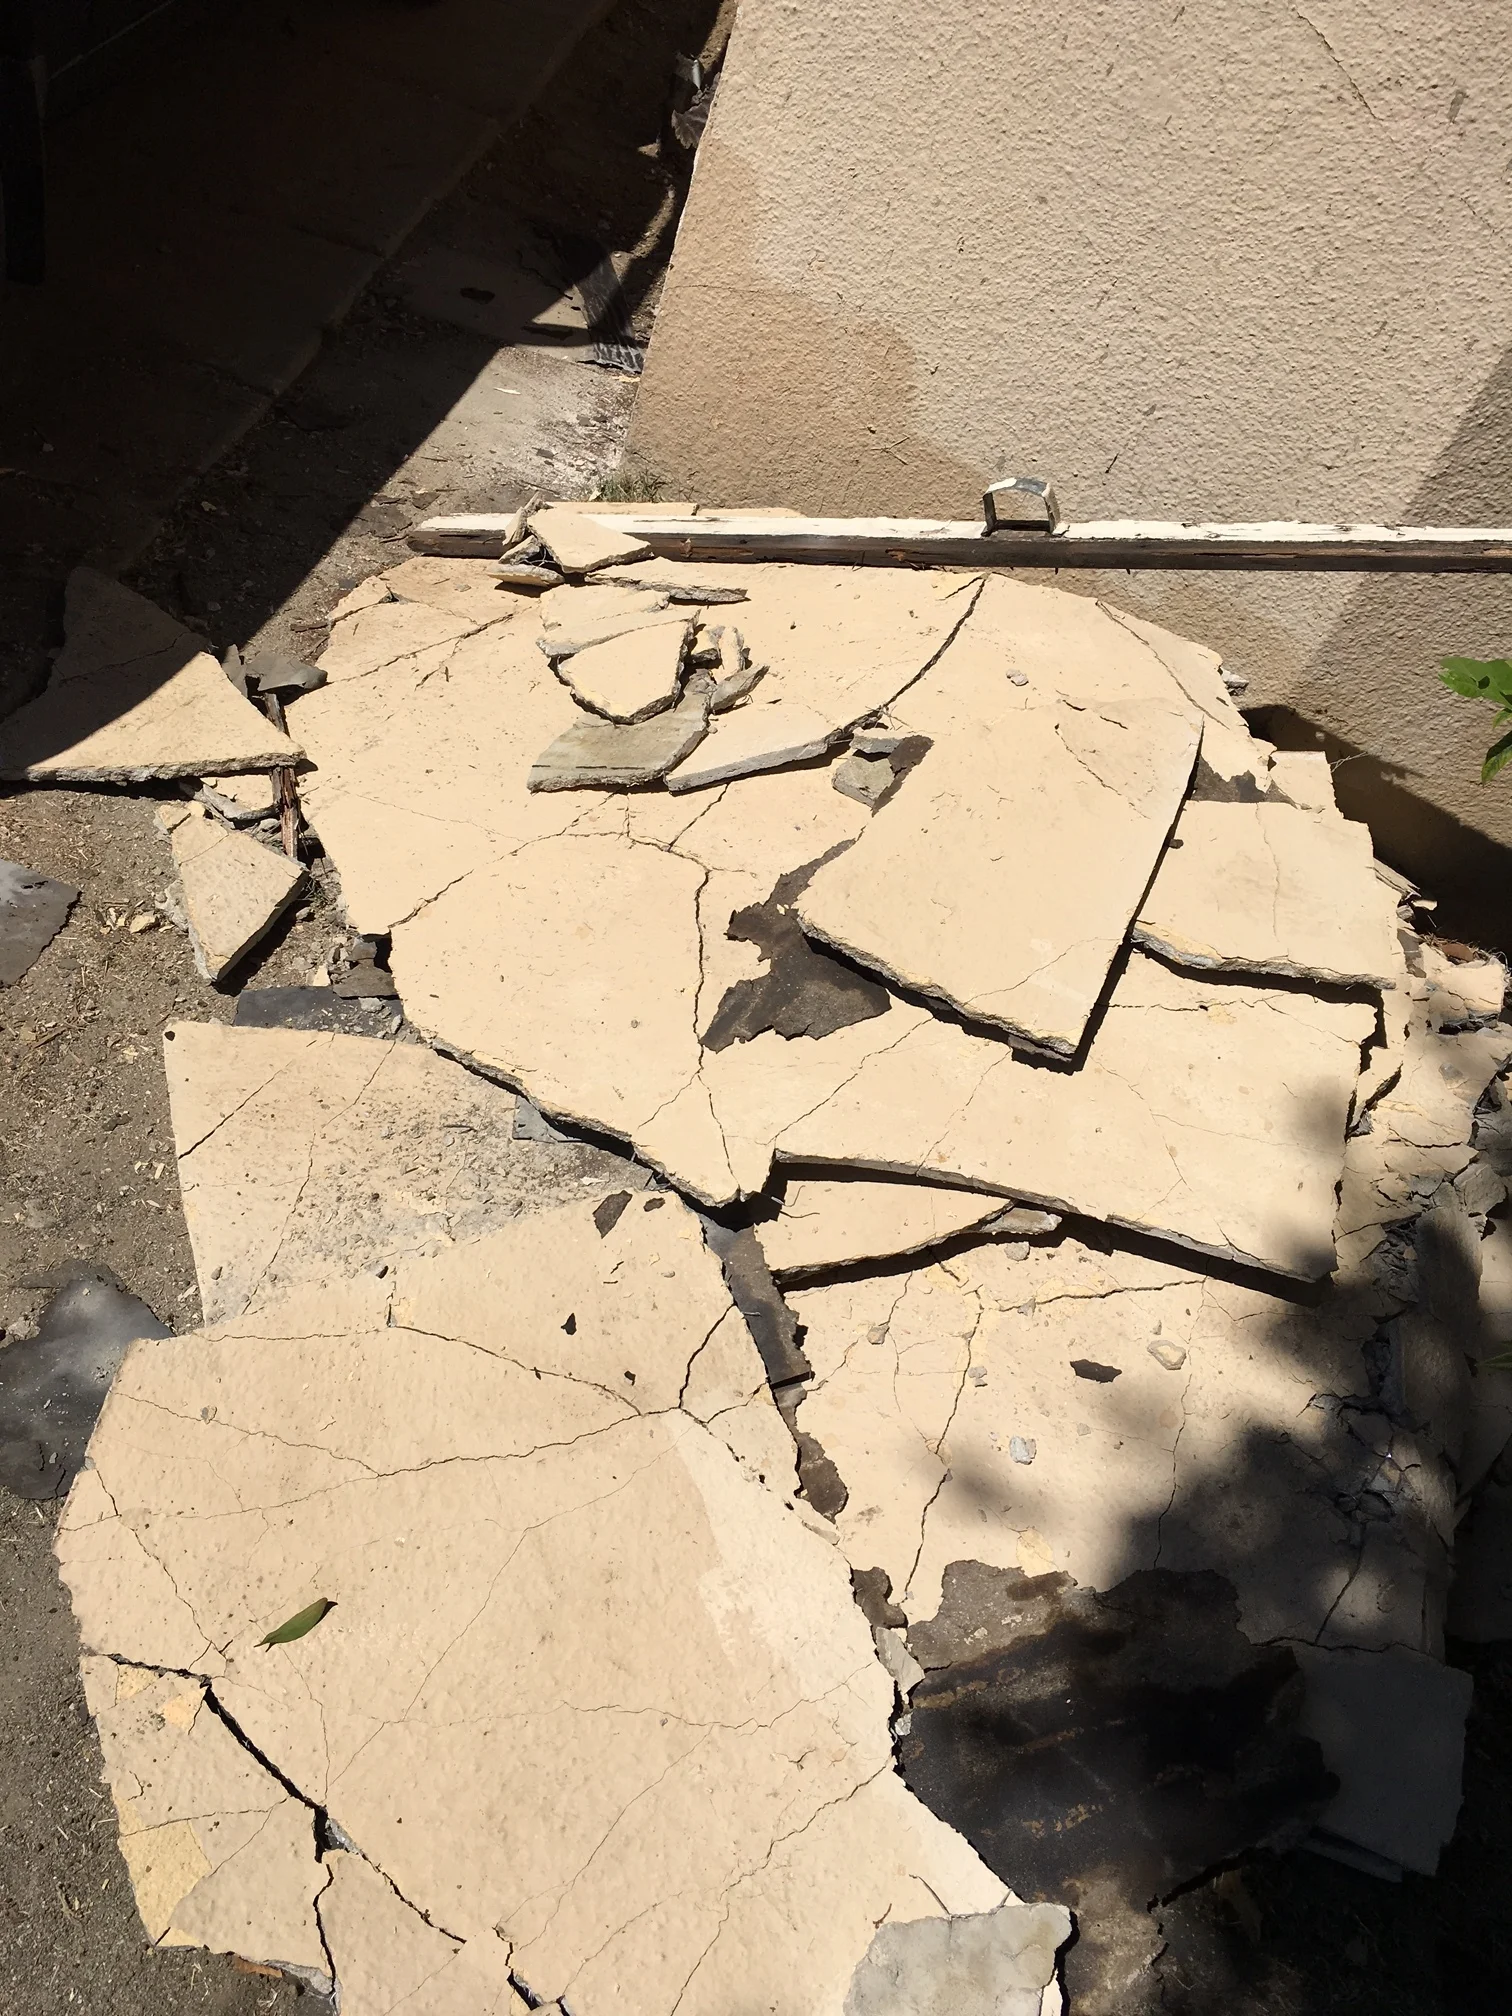
The sides of the house.

GOT ANY THOUGHTS OR QUESTIONS?
People, I know none of this is sexy.
So, I am more than grateful that you are continuing to read despite these unglamorous shots. I promise that you will be rewarded when the real fun stuff (design) starts! Thank you in advance.
KNOW ANYONE THAT'S INTERESTED IN FLIPPING HOMES? PLEASE SHARE THIS BLOG WITH THEM.
1. Flipping Lincoln Ave: Be brave...begin
2. Flipping Lincoln Ave: Yikes, this place is a mess
3. Flipping Lincoln Ave: Fun with tack strips
4. Flipping LIncoln Ave: Demo Day
5. Flipping Lincoln Ave: Ready Set Go!
6. Flipping Lincoln Ave: Up You Go
7. Flipping Lincoln Ave: We're Deep In Now
OH, ONE LAST THING.
Would any of you be interested in a Spruce & Pine t-shirt? Thinking of making them and sending out for people who spread the word and get people to subscribe to the blog. Let me know your thoughts.
Thank you so much for your support.
